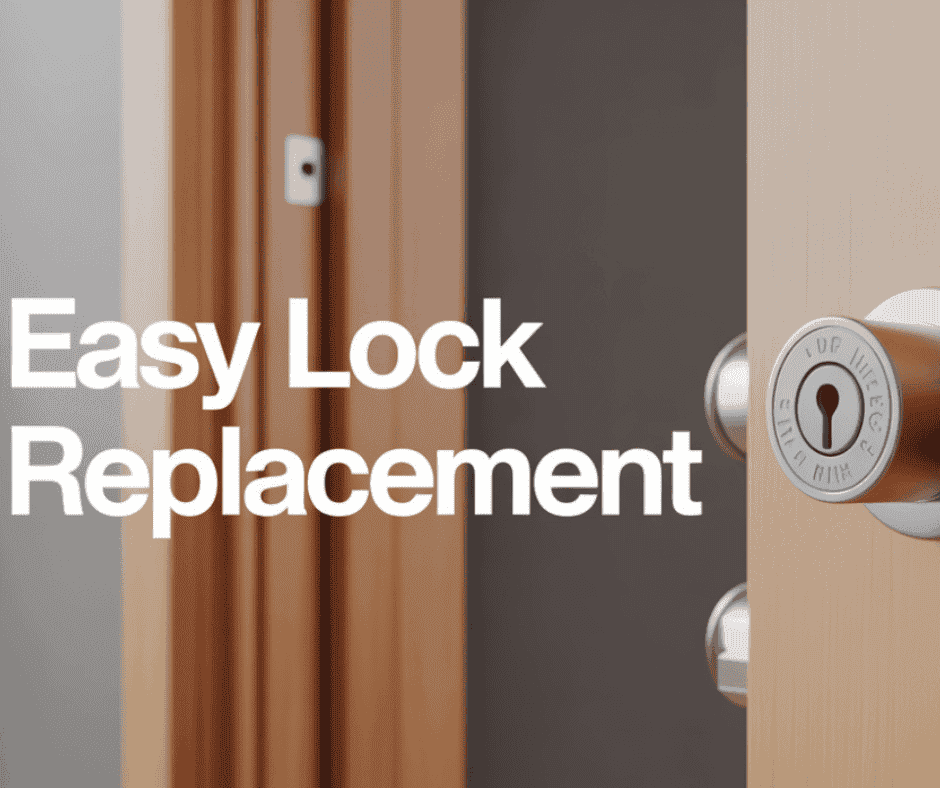
Door Locks and Why You Might Need to Change One
Door locks are fundamental to the security of any property, controlling access while offering peace of mind. Over time, circumstances such as wear and tear, security concerns, or moving into a new Home might necessitate changing a door lock. Understanding when and why to change a lock is important to maintain optimal security and functionality.
Locks can deteriorate due to frequent use, environmental conditions, or attempted break-ins, leading to operational difficulties or compromised security. Changing a door lock can prevent unauthorized access and reinforce safety for you and your Family. Additionally, upgrading to advanced lock types, such as smart locks, may offer enhanced security and convenience.
Moving into a new residence is another common reason to replace door locks. Previous occupants or lost keys may pose security risks if the locks remain unchanged. Changing locks ensures you have full control over access and minimizes vulnerability.
This comprehensive guide will walk you through changing a door lock, covering the required tools, step-by-step instructions, installation tips, and maintenance advice. Along the way, you will also find useful links to trusted sources for security best practices, including the National Hardware Federation and SafeWise, which provide valuable updates on locks and home security.
How to Change a Door Lock
Changing a door lock might seem daunting, but with the right knowledge and tools, most homeowners can do it themselves. The process begins by selecting a lock that fits your door and meets your security requirements.
The first step is to remove the existing lock by unscrewing its components and carefully extracting the latch and cylinder. This ensures the door is ready to receive the new lock mechanism. Paying attention to the lock type, whether it is a deadbolt or knob lock, is essential, as the removal technique may vary slightly.
Next, preparing the door is crucial. Inspecting the door and frame ensures that the new lock fits properly and that any necessary repairs can be made before installation. This step avoids future operational problems and ensures the lock’s effectiveness.
Finally, installing the new lock requires precise alignment of the cylinder and latch, securing them firmly with screws. Testing the lock to confirm smooth operation completes the process. Your new lock will restore or elevate your door’s security.
Further details and user experiences provided by Home Depot’s guide and This Old House offer practical insights and tips.
Tools You’ll Need for the Job: Screwdriver, New Lock, Measuring Tape
When changing a door lock, having the right tools ensures a smooth, efficient process. The essential tools required for most lock replacements include:
Screwdrivers: Both Phillips-head and flat-head screwdrivers are commonly needed. Screws securing the lock components vary in size, so having multiple sizes is useful.
New Lock: Choose a lock that fits your door’s specifications—carefully consider the type (deadbolt, knob lock, smart lock) and size compatibility.
Measuring Tape: Accurate measurements of the door thickness, backset (distance from the door edge to the centre of the hole), and the existing lock dimensions help ensure a proper fit.
Other optional tools might include a drill for hardened screws, a chisel for mortise fitting, and a pencil for marking alignment.
Using the right tools prevents damage to the door and lock parts and facilitates professional-grade installation. Preparing your workspace by collecting all tools beforehand can save time and reduce frustration during the job.
When acquiring a new lock, consider factors such as the security rating, a finish that matches your décor, and user-convenience features like keyless entry. Trusted brands often package installation instructions and tools, making the process straightforward even for beginners.
Step-by-Step Guide: Removing the Old Door Lock
| Step Number: Task Description: Tools Needed: Details: Cautions | ions/Notes | |||
|---|---|---|---|---|
| 1 | Prepare your workspace and gather tools | Screwdrivers, flashlight | Clear the area around the door for good lighting and access. | Turning off door alarm systems, if applicable, before starting. |
| 2 | Remove the screws from the interior knob | Phillips screwdriver | Unscrew all screws securing the interior mechanism. | Keep screws safe as backups or for alignment reference. |
| 3 | Remove the interior knob and exterior knob | Hands or a flathead screwdriver | Gently pull out both knobs/cylinders from the door. | If knobs are stuck, gently pry using a screwdriver. |
| 4 | Extract the latch or bolt | Phillips screwdriver | Unscrew and remove the latch/bolt from the edge of the door. | Note latch orientation for reinstalling the new latch. |
| 5 | Remove the strike plate from the door frame | Screwdriver | Unscrew the strike plate securing the latch to the frame. | Check the frame for damage that needs repair before installing the new plate. |
| 6 | Clean and inspect the holes | Cleaning cloth | Remove dirt, rust, or debris in the holes and recesses. | Ensure the holes are undamaged and suitable for installing a new lock. |
| 7 | Confirm compatibility of new lock parts | Measuring tape | Measure door thickness and hole sizes for confirmation. | Important to avoid fitment issues with the new lock. |
| 8 | Prepare tools and a new lock for installation | Screwdrivers, new lock components | Lay out the new lock parts and toolkit for easy access. | Read manufacturer instructions thoroughly. |
| 9 | Dispose of or recycle old lock materials | – | Properly discard old lock parts unless they are to be reused. | Follow local disposal regulations. |
This detailed removal process ensures the safe extraction of the old lock without damaging the door or frame, setting the stage for efficient installation of your new lock.
Inspecting the Door and Preparing for the New Lock Installation
Before proceeding with the new lock installation, it is vital to inspect the door and frame thoroughly. Check for any damage, such as cracks, warped wood, or misaligned holes, that could hinder proper lock mounting. The door must be solid and secure to support the new lock effectively.
Measure the door’s thickness and the backset to guarantee your new lock fits precisely. Standard residential doors are typically 1 3/8 to 1 3/4 inches thick, but confirming prevents purchasing incompatible locks. The backset is usually 2 3/8 or 2 3/4 inches, measuring from the door’s edge to the centre of the lock hole.
Ensure the holes drilled for the latch and lock cylinder are clean and free from splinters or debris. If the old latch plate is damaged or doesn’t align well with the strike plate, consider patching or repositioning it to improve lock engagement.
Lastly, identify if any adjustments are necessary, such as resizing holes or reinforcing the door frame with longer screws and strike plates. Proper preparation at this stage ensures the new lock installation will be secure and long-lasting.
Installing the New Door Lock: Aligning and Securing
Installing a new door lock involves carefully positioning the lock components and securing them to the door. Start by inserting the latch into the door edge, making sure the angled part faces the door jamb to allow smooth latching when the door closes.
Next, align the exterior and interior lock cylinders or knobs on both sides and feed them through the appropriate holes. The lock’s spindle must engage the latch’s internal mechanism properly to function.
Secure the lock components by evenly tightening the attaching screws. Avoid over-tightening screws, which can warp the lock or the door, but ensure they’re firmly attached to prevent wobbling or loosening.
Install the strike plate on the door frame, ensuring it lines up perfectly with the latch bolt. Using longer screws (at least 3 inches) to secure the strike plate into the door frame’s solid wood enhances resistance to forced entry.
Consistently check alignment by closing the door during installation to confirm smooth latch engagement. Adjust screw tightness or reposition components as needed to get perfect lock operation.
Testing the New Lock for Proper Function
After installation, testing the new lock thoroughly is crucial to verify smooth operation and security. Begin by locking and unlocking the door multiple times with the key or locking mechanism, noting any resistance, sticking, or unusual sounds.
Check that the latch fully extends into the strike plate and holds the door securely shut. Doors should close gently without requiring force and remain firmly locked when the lock is engaged.
Test both interior and exterior knobs or handles for ease of turning. For deadbolts and smart locks, ensure the bolt moves completely in and out when the lock is locked or unlocked.
If the lock includes an electronic or smart feature, confirm functionality by using its app, keypad, or biometric scanner as applicable. Verify battery status and communication with connected devices.
If any issues arise, inspect for loose screws, misalignment of the strike plate or latch, or improper installation. Minor adjustments often resolve operational problems and improve lock reliability.
Tips for Maintaining Your Door Lock
Proper maintenance extends the life of your door lock and ensures consistent, secure operation. Here are essential tips:
Lubricate Regularly: Use graphite powder or silicone-based lubricant about twice a year to keep pins and cylinders operating smoothly. Avoid oil-based lubricants as they attract debris.
Keep It Clean: Remove dirt, dust, and moisture from the keyhole and lock mechanism using a soft cloth or compressed air to prevent jamming and rust.
Check Screws and Strike Plates: Tighten or replace screws and inspect plates annually to maintain secure mounting.
Use Correct Keys: Avoid worn or bent keys to reduce damage to pins and internal parts.
Avoid Excessive Force: Gently insert the keys and never force a turn if resistance occurs; it might indicate a maintenance issue.
Update Batteries: For electronic or smart locks, regularly replace batteries to prevent lockouts.
Following these simple steps reduces wear and prevents costly repairs or emergency locksmith visits.
Common Mistakes to Avoid When Changing a Door Lock
Changing door locks is a manageable DIY task, but it is prone to errors without attention to detail. Some common mistakes include:
Choosing the Wrong Lock Size: Failure to measure door thickness, backset, and lock-hole sizes results in incompatible locks, leading to fitment issues or weak security.
Not Inspecting Door and Frame: Installing a new lock on a damaged door or misaligned frame compromises lock performance and security.
Over-Tightening Screws: Excessive tightening can warp lock components or damage the door, resulting in jamming or poor alignment.
Ignoring Manufacturer Instructions: Skipping detailed guidance can lead to improper installation and voided warranties.
Neglecting Strike Plate Reinforcement: Using short screws or misaligned plates reduces resistance to forced entry.
Forgetting to Test the Lock Thoroughly: Overlooking functional checks can lead to undetected defects or malfunctions until an emergency occurs.
Avoiding these pitfalls ensures your new lock provides secure, reliable performance over time.
(FAQs)
Q1: How long does it typically take to change a door lock?
On average, replacing a standard door lock takes about 30 minutes to an hour for most homeowners, depending on experience and lock type.
Q2: Can I reuse the old strike plate with a new lock?
Usually, yes, but inspect the plate for damage or alignment issues. If there are problems, replace it with the one included in the new lock set.
Q3: Are smart locks difficult to install?
Smart locks generally require the same installation steps as traditional locks, but may require additional wiring or app setup. Most come with detailed instructions.
Q4: Is it necessary to rekey or replace locks after losing a key?
Yes, to ensure security, either rekey the lock or replace it entirely. Rekeying involves changing the pin configuration while replacing the pins with brand-new locksets.
Conclusion
Changing a door lock protects your property by maintaining strong physical security and adapting to changing safety needs. Whether prompted by wear, moving to a new Home, or upgrading to a technologically advanced lock, knowing how to change a door lock yourself can save time and money.
This detailed guide has covered essential tools, step-by-step removal and installation, preparation tips, proper testing, and maintenance advice. Avoiding common mistakes ensures your new lock works reliably and securely for years to come.
With thorough measurement, careful installation, and regular upkeep, your new door lock will provide peace of mind and safeguard what matters most.
#ChangeDoorLock #HomeSecurity #DoorLockInstallation #LockMaintenance #DIYLockChange #SmartLocks #DeadboltInstallation #LockTips #LockReplacement #SecureHome