Sliding Door Lock Mechanisms and Common Issues
Sliding door lock mechanisms are vital components that ensure the security and smooth operation of sliding doors, commonly found in homes and offices.
Unlike traditional hinged doors, sliding doors require specialized locks designed to secure the door by locking it into the frame or adjacent panels. These locking systems enhance safety while allowing easy access and convenience.
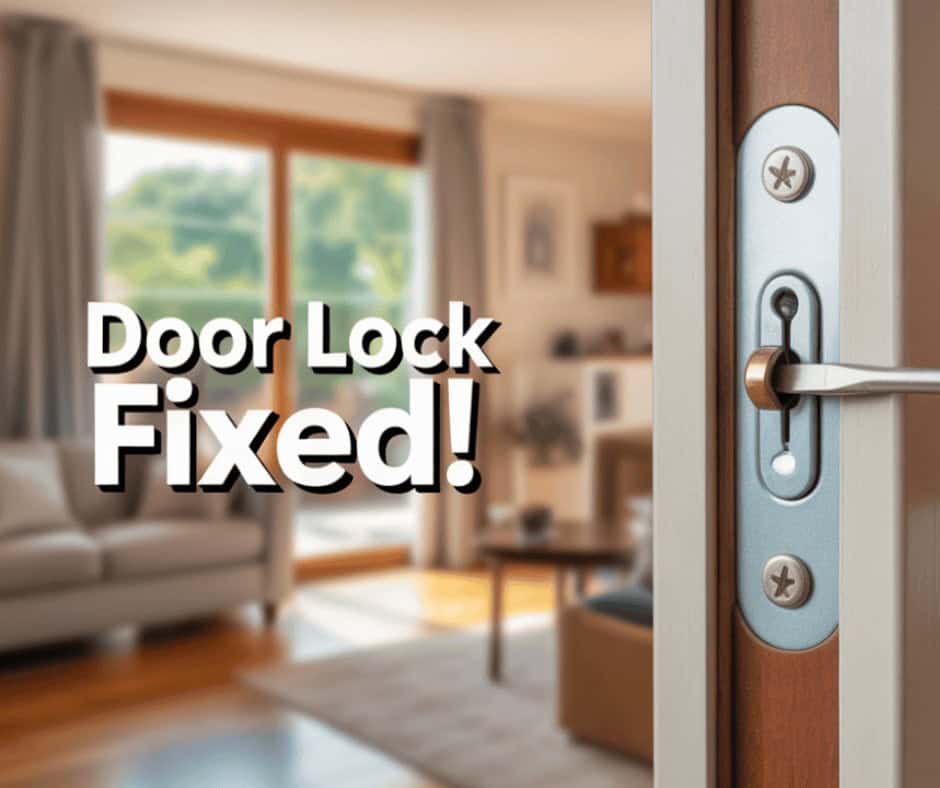
Common issues with sliding door locks include difficulty locking or unlocking, jamming, loose lock components, or broken parts inside the locking mechanism.
These problems often arise from regular wear and tear, dirt and debris buildup, misalignment, or environmental factors such as moisture and rust. Since sliding doors move differently from hinged doors, their lock mechanisms are uniquely susceptible to damage from improper use or neglect.
Understanding how a sliding door lock mechanism works helps you spot problems early.
Typically, these locks consist of a latch or bolt that slides into a strike plate or recessed area to secure the door. When it malfunctions, the door may not lock properly, compromising safety or causing operational issues.
This article provides a detailed guide to fixing sliding door lock mechanisms. Covering essential tools, step-by-step removal and inspection, cleaning and lubrication, part replacement, reinstallation, and testing, this resource helps homeowners and handymen restore their sliding door locks to proper working order.
For extended advice, sites like HomeAdvisor and This Old House offer expert tips and user experiences related to sliding door lock repairs.
How to Fix Sliding Door Lock Mechanism
Fixing a sliding door lock mechanism begins with correctly diagnosing the problem, which often falls into one of three categories: mechanical failure, misalignment, or dirt accumulation. If the lock jams or the key won’t turn, internal parts may be worn or obstructed and may need cleaning or replacement.
First, remove the slide lock mechanism from the door to access its internal components for careful inspection. This lets you check for broken levers, worn springs, or rusted parts.
In many cases, thorough cleaning and lubrication alone resolve the issue without needing replacement parts.
If you identify damaged components, replace them individually or install a new lock mechanism to restore proper security and functionality. Sliding door locks are specialized, so sourcing compatible parts or lock units from hardware stores or manufacturers is crucial.
After repairs, reinstall the lock precisely and test it thoroughly. An improperly installed lock may cause the door to stick, fail to lock securely, or become prone to damage over time.
With the right tools and instructions, DIY enthusiasts can follow safe, effective repair methods and save time and professional fees. For detailed how-to and troubleshooting, trusted references include DIY Network and Family Handyman.
Tools and Materials Needed for the Repair
Before tackling sliding door lock repair, assemble the right tools and materials for efficiency and success. The basic toolbox for this task typically includes:
Screwdrivers: Flathead and Phillips screwdrivers in various sizes to remove screws holding the lock mechanism and faceplates. Having a magnetic screwdriver is advantageous for preventing the loss of small screws.
Lubricant: A silicone-based or graphite lubricant specifically designed for locks is crucial for reducing friction inside the lock cylinder and between sliding components. Avoid using oil-based lubricants, as they attract dust.
Additional useful materials include:
Cleaning Supplies: Soft brushes, compressed air canisters, and cloths to remove dirt, dust, and corrosion before lubrication.
Replacement Parts: If available, spare springs, latch bars, or a complete new lock mechanism compatible with the door model.
Pliers or Tweezers: For handling small internal parts carefully without damage.
Measuring Tape or Caliper: To verify dimensions and compatibility of replacement parts.
Work Gloves and Safety Glasses: To protect hands and eyes during the repair process.
Acquiring tools suited for small mechanical work ensures you can disassemble and reassemble the sliding lock safely and precisely.
Step-by-Step Guide to Remove the Lock Mechanism from the Door
| Step Number | Task Description | Tools Needed | Details | Tips and Precautions |
|---|---|---|---|---|
| 1 | Clear the work area around the sliding door | None | Remove objects near the door to provide full access. | Ensure the door is stable and won’t move unexpectedly. |
| 2 | Locate screws securing the lock faceplate | Phillips/flathead screwdriver | Examine the door edge or the inside edge for visible screws. | Some faceplates may be hidden under weather stripping. |
| 3 | Remove the screws and carefully detach the faceplate | Screwdriver | Keep screws organized for reassembly. | Use gentle prying to prevent damage to the door surface. |
| 4 | Find screws or clips holding the internal lock mechanism | Screwdriver, pliers | Depending on the lock type, remove all fasteners securing it. | Some mechanisms may slide out once the retaining screws are removed. |
| 5 | Slide or pull out the lock mechanism from the door edge | Hands or pliers | Carefully extract the lock unit, noting orientation. | Avoid bending or forcing the part, which could damage it. |
| 6 | Inspect for hidden components such as springs or pins that may come loose | Work gloves, tweezers | Keep all small parts together to avoid loss. | Photograph assembly to help during reinstallation. |
| 7 | Store removed parts safely on a clean surface | Container or tray | Organize parts for ease of reuse. | Label components if necessary to avoid confusion later. |
| 8 | If the lock chassis is stubborn, check for additional fasteners inside the door frame | Screwdriver | Some locks have screws that are accessible only when the door panel is removed. | Consider seeking professional help if further disassembly is required. |
This systematic removal method protects both the sliding door and lock mechanism, preparing for inspection and repair with a high success rate.
Inspecting the Lock Components for Damage or Wear
Following removal, a detailed inspection of the lock parts identifies the root cause of the lock malfunction. Inspect the latch bar for signs of bending, chips, or corrosion that could impede its sliding or locking function. Springs that provide return tension can weaken or break, causing incomplete lock engagement.
Inspect the internal levers and lock cylinder carefully for wear marks, scratches, or broken pieces. Rust can stiffen movement or cause component failure.
Check the alignment posts or tabs that hold parts together. Misalignment or looseness here can disrupt smooth operation.
For mechanical locks that use pins or tumblers, make sure they move freely and aren’t jammed with dirt. Accumulated grime or paint residue may interfere with their proper positioning.
If the sliding lock includes electronic components, inspect connectors and wiring for corrosion or disconnections.
Properly diagnosing damaged or worn parts helps determine whether cleaning and lubrication will suffice or whether replacement is needed to restore full function.
Cleaning and Lubricating the Lock Mechanism
Thorough cleaning is vital before lubrication. Begin by blowing compressed air into all nooks of the lock to expel dust and grit. Use a soft-bristled brush or cotton swab to remove stuck debris from pins, levers, and sliding surfaces.
Avoid harsh solvents, which might damage plastic or painted parts. You may use a damp cloth cautiously on exterior surfaces.
For lubrication, use graphite powder or silicone spray liberally inside the keyhole and along all moving components.
Insert and cycle the key several times to distribute lubricant evenly through the internal mechanism. For latch bars and bolts, apply a thin coat of lubricant to ensure smooth sliding action.
Regular cleaning and lubrication reduce friction, prevent rust, and extend the lifespan of locks, ensuring reliable locking performance.
Replacing Any Broken Parts or the Entire Lock If Necessary
If inspection reveals broken or severely worn components that can’t be reliably repaired, replacement is necessary. You can often source small parts such as springs, latch bars, or pins individually from hardware stores or lock manufacturers.
When damage is extensive or compatible parts are unavailable, replacing the entire sliding door lock mechanism is the best solution. This eliminates recurring problems and improves security.
When ordering replacements, ensure you take precise measurements of the old lock and record the model number to find exact matches. Installing a new lock typically follows the same steps, though you may need minor fit adjustments.
Always choose high-quality locks from reputable brands for enhanced durability and security.
Reinstalling the Lock Mechanism into the Sliding Door
Reinstallation involves carefully positioning the repaired or new lock mechanism back into the door. Insert the lock unit into the edge slot, ensuring the latch bar faces the correct direction for smooth engagement with the strike plate.
Secure the lock with screws, tightening them evenly to prevent warping or misalignment. Gently press the lock faceplate into position and reattach its screws, ensuring you don’t overtighten them.
Verify that any springs or small parts are correctly seated and do not block movement.
Finally, replace any door trim or weatherstripping removed during disassembly, ensuring a flush fit without interfering with the lock.
Testing the Lock Functionality After Installation
Thorough testing ensures the lock functions properly and remains secure. Slide the door fully closed and engage the lock, checking that the latch fully extends into the strike plate and secures the door without excessive force.
Test unlocking using the key or thumb turn multiple times to confirm smooth operation without sticking or delay.
Listen for irregular noises such as grinding or clicking, which may indicate internal misalignment.
Open and close the door several times to verify that the lock mechanism does not obstruct door movement.
For electronic locks, confirm that the batteries, keypad, or app operation work correctly after installation.
Repeat testing on both sides of the door to ensure universal reliability and ease of use.
Tips for Maintaining the Sliding Door Lock Mechanism
Regular maintenance prevents premature failures. Essential tips include:
1. Clean the lock and surrounding areas periodically to prevent dirt buildup.
2. Lubricate the lock mechanism semiannually using lock-safe lubricants.
3. Avoid slamming the door, which stresses the lock components.
4. Inspect screws every few months and tighten any loose parts.
5. Replace worn or damaged weather stripping to keep debris out.
6. Use appropriate keys carefully and avoid forcing the lock.
Proper maintenance ensures smooth operation, prolongs the life of your locks, and safeguards your Home or workspace.
(FAQs)
Q1: What causes sliding door locks to jam?
Dirt or debris buildup, rust, worn springs, or misalignment often cause locking issues.
Q2: How often should I lubricate sliding door locks?
Every six months, or sooner if the lock becomes stiff. Use graphite or silicone lubricants.
Q3: Can I replace parts of the lock or only the whole unit?
You can replace small parts, such as springs or latch bars, individually, but extensive damage may require a full lock replacement.
Q4: What if my sliding door lock is electronic and not working?
Check batteries, reset the lock according to the manufacturer’s instructions, or seek professional help for wiring problems.
Conclusion
Sliding door lock mechanisms require regular maintenance to ensure security and optimal function. Common issues such as jamming, breakdowns, and wear can often be resolved through careful removal, cleaning, lubrication, and part replacement.
This comprehensive guide walks you through each essential step — from assessing, dismantling, and inspecting lock components to reassembling and testing the mechanism for proper operation. With the right tools and knowledge, you can confidently restore your sliding door locks and save money on professional repairs.
Ongoing maintenance, including cleaning, lubrication, and inspection, helps prevent future failures, keeping your sliding doors secure and operating smoothly. Whether performing simple repairs or replacing locks entirely, understanding these principles is key to protecting your property.
#SlidingDoorLock #LockRepair #HomeSecurity #DIYLockFix #SlidingDoorRepair #LockMaintenance #DoorLockCleaning #LockReplacement #SecureDoors #SlidingDoorTips