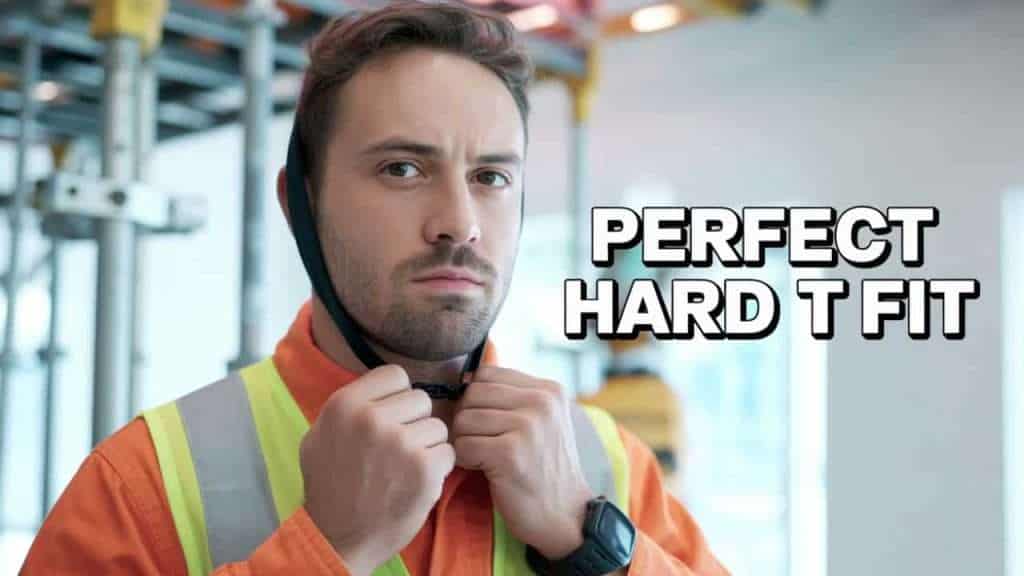
Hard hats are essential personal protective equipment (PPE) designed to protect workers from head injuries caused by falling objects, impacts, and electrical hazards commonly encountered on construction sites, industrial workplaces, and mining operations. Wearing a certified hard hat that meets recognized safety standards, such as ANSI/ISEA Z89.1, OSHA requirements, or CSA standards, ensures the helmet delivers proven protection through tested impact resistance, durability, and electrical insulation. Certification confirms that the hard hat is reliable and fit for its role in preventing serious injuries.
However, hard hats are not permanent safety devices. Exposure to ultraviolet light, harsh weather, chemicals, and wear over time degrade materials like the shell and suspension system, reducing protective capabilities. This makes understanding hard hat expiration and replacement critical. Using an expired or compromised hard hat significantly increases the risk of injury. Therefore, workers and employers must regularly inspect hard hats and adhere to recommended service life guidelines to maintain compliance and safety.
This comprehensive guide focuses on “How to Set Up a Hard Hat” properly, emphasizing the importance of certified head protection. It covers hard hat types, inspection procedures, fitting adjustments, proper placement, chin strap usage, certification understanding, and maintenance tips to optimize safety and comfort on the job.
How to Set Up a Hard Hat
Setting up a hard hat correctly is the foundation for effective head protection on any worksite. The process begins by selecting a certified hard hat suitable for your work environment and ensuring all components are intact and functioning. Proper initial setup involves inspecting the shell, suspension system, and chin strap (if applicable), adjusting the fit, and familiarizing yourself with ratings and maintenance protocols.
First, inspect your hard hat thoroughly for any visible damage or wear, paying close attention to cracks or deterioration in the shell and suspension. Replace any damaged parts immediately. Next, adjust the suspension system inside the shell to fit your head comfortably but snugly. This often involves tightening or loosening a ratchet knob or adjusting pin-lock straps, ensuring the hard hat stays securely on during movement.
Then, place the hard hat squarely on your head with the brim facing forward unless the manufacturer’s instructions specify otherwise. Make sure it sits level and does not impede vision. If your hard hat has a chin strap, fasten and adjust it under your chin to prevent displacement in windy conditions or during sudden movements.
Finally, perform a stability check by gently shaking your head—your hard hat should remain stable without excessive rocking or sliding. Following the manufacturer’s instructions for setup and fit maximizes long-term comfort and safety, reducing the risk of injury. For detailed, model-specific guidance, consulting official resources like OSHA publications or manufacturer manuals is advisable.
Hard Hats and Their Importance in Safety
The Critical Role of Hard Hats
Hard hats provide a vital layer of protection that mitigates the risk of traumatic brain injuries and skull fractures caused by falling debris, unintentional impacts, or contact with electrical hazards. Their tough outer shells absorb and disperse energy, while internal suspension systems cushion the wearer’s head. This dual mechanism significantly reduces the impact force reaching the skull. Wearing a certified hard hat conforming to national safety standards is the cornerstone of any effective PPE program.
Promoting Workplace Safety and Compliance
Hard hats not only protect workers physically but also reinforce workplace safety culture and regulatory compliance. OSHA mandates the wearing of appropriate head protection in many industries, and failure to comply can lead to fines and legal consequences. Employers who provide properly certified and well-fitted hard hats demonstrate a commitment to employee welfare. This culture reduces accident rates, boosts morale, and helps maintain productivity by preventing injuries and downtime.
Overview of the Different Types of Hard Hats Available
| Hard Hat Type | Description | Common Materials | Certification Classes | Typical Use Cases | Price Range (USD) |
|---|---|---|---|---|---|
| Type I | Protects against impact from the top of the head | HDPE, ABS Plastic, Fiberglass | ANSI Type I; Classes G, E, C | General construction, light industrial | $15 – $80 |
| Type II | Protects against impact from top and sides | Fiberglass, Polycarbonate | ANSI Type II; Classes G, E, C | Mining, heavy industry, manufacturing | $40 – $120 |
| Class G | General protection; limited electrical insulation | HDPE, plastic | Up to 2,200 volts | Most construction and manufacturing | $20 – $100 |
| Class E | High electrical insulation (up to 20,000 volts) | Fiberglass, composite shells | Electrical utilities, linemen | $50 – $250 | |
| Class C | No electrical protection; lighter and ventilated | Aluminum, lightweight plastics | Suitable for non-electrical environments | Warehousing, hot environments | $15 – $70 |
| Specialty | Integrated electronics, enhanced comfort features | Carbon fiber, specialty composites | Varies; depends on added features | Oil & gas, emergency responders, specialized trades | $150 – $400+ |
Each type and class is designed for specific worksite hazards. Type I hats focus on vertical impact protection, while Type II models shield against lateral impacts as well. Classes G, E, and C define electrical protection levels. Selection depends on hazard assessment and regulatory requirements.
Inspecting Your Hard Hat for Damage and Wear Before Use
Before wearing a hard hat each day, conduct a thorough visual and physical inspection:
1. Examine the shell for cracks, dents, deep scratches, brittleness, discoloration, or warping, which indicate material fatigue or UV damage.
2. Inspect the suspension system for frayed straps, broken clips, or loss of elasticity that can reduce shock absorption.
3. Check chin straps (if applicable) for tears, cracked buckles, and adjustability.
4. Look for signs of unauthorized modifications like paint or stickers that could weaken materials or mask damage.
5. Confirm all certification labels and manufacturing dates are readable.
6. Replace the hard hat or components immediately upon detecting any damage or deterioration to ensure safety is uncompromised.
Regular inspections prevent the use of compromised PPE, maintaining compliance and protection integrity.
Adjusting the Suspension System for a Comfortable Fit
The suspension inside your hard hat secures it on your head and cushions blows. To adjust it properly:
1. Locate the adjustment mechanism — typically a ratchet knob, pin-lock, or friction-fit straps.
2. Loosen the suspension sufficiently to place the hard hat over your head.
3. Tighten the ratchet by turning clockwise or click pins into the appropriate holes so the fit feels snug but not restrictive.
4. The suspension band should sit about 1 to 1.25 inches above your eyebrows.
5. Ensure even pressure distribution — no part should cause discomfort or pinch.
6. Re-adjust periodically throughout the day to maintain comfort and security during active tasks.
A well-adjusted suspension reduces fatigue and improves protection.
Properly Placing the Hard Hat on Your Head
Correct placement ensures maximum coverage:
1. Position the hard hat squarely on the top of your head.
2. The brim should face forward to protect your face and eyes, unless the manufacturer’s instructions indicate alternate use.
3. Align the suspension so it cradles the head centrally without shifting.
4. Avoid tilting or off-center wearing, which reduces protection coverage.
5. Ensure adequate clearance for spectacles, ear protection, and face shields if used.
6. The hard hat should not obstruct your line of sight or interfere with work.
Proper placement protects critical areas and integrates with other PPE.
Securing the Chin Strap if Applicable for Added Safety
1. Attach both chin strap ends firmly to designated attachment points on the shell.
2. Adjust the strap length so it fits comfortably under the chin without restricting breathing or speech.
3. Ensure the strap keeps the hard hat securely in place in windy conditions or sudden movements.
4. Check buckles or snaps for functionality and wear regularly.
5. Chin straps are essential on scaffolds, elevated platforms, or sites with motion hazards.
Correct chin strap use prevents accidental loss of head protection.
Checking the Fit and Ensuring It Sits Correctly on Your Head
1. With the hard hat positioned, shake your head gently up, down, and side to side.
2. The hard hat should remain stable without wobbling, sliding, or rocking.
3. Verify the suspension is neither too loose (allowing movement) nor too tight
4. Adjust frequently as needed, especially if adding layers like hoods or hearing protection.
5. Comfort encourages consistent use and reduces distraction on the job.
A stable, comfortable fit provides continuous protection throughout the work shift.
Understanding the Labeling and Ratings of Your Hard Hat
1. Check for ANSI/ISEA Z89.1 labels indicating Type (I or II), Class (G, E, or C), manufacturing date, and model number.
2. Confirm compliance with applicable OSHA safety standards.
3. Understand that the date label helps track service life for timely replacement.
4. Look for any additional indications such as UV resistance or specialized features.
5. Using non-certified or outdated hard hats can invalidate insurance and compliance requirements.
Knowing your hard hat’s ratings ensures it matches workplace hazards and regulations.
Maintenance Tips for Keeping Your Hard Hat in Good Condition
1. Clean regularly with mild soap and water; avoid harsh chemicals or solvents that degrade materials.
2. Store in a cool, dry place away from direct sunlight, extreme temperatures, or chemicals.
3. Replace suspension systems per manufacturer recommendations (typically annually).
4. Avoid painting or attaching unauthorized labels.
5. Inspect before and after use for damage.
6. Document inspection and maintenance activities for compliance and asset tracking.
7. Promptly retire hard hats that sustain impacts or show signs of aging.
Proactive maintenance extends PPE service life and keeps protection reliable.
(FAQs)
Q1: How often should I replace my hard hat?
A1: Generally, replace the shell every 5 years from the manufacture date and suspend every 12 months or sooner if damaged.
Q2: Can I wear a hard hat backwards?
A2: Typically, no; most are designed to be worn with the brim forward. Check the manufacturer’s instructions if unsure.
Q3: What is the difference between Type I and Type II hard hats?
A3: Type I protects against vertical impacts (top only), Type II protects against both vertical and lateral impacts.
Q4: Are chin straps always required?
A4: Not always, but recommended in windy, elevated, or high-movement work environments.
Q5: Can adding stickers or paint void certification?
A5: Yes, unauthorized modifications can degrade protection and void warranties or certifications.
Q6: How do I clean my hard hat?
A6: Use mild soap and water; avoid solvents or abrasive cleaners.
Conclusion
Properly setting up a hard hat is central to effective head protection in hazardous work environments. From initial inspection and suspension adjustment to correct placement and chin strap use, each step ensures the hard hat provides maximum safety and comfort. Wearing a certified hard hat maintained in good condition reduces injury risk, complies with regulatory standards, and promotes a strong safety culture.
Employers should provide education on correct setup procedures and enforce regular inspection and timely replacement protocols. Workers benefit from understanding their hard hats’ features, ratings, and fit requirements to maintain protection throughout their shifts. Prioritizing these practices saves lives and enhances workplace safety performance every day.
#HardHatSetup #WorkplaceSafety #PPE #CertifiedHardHat #ConstructionSafety #OSHACompliance #HardHatFit #HeadProtection #IndustrialSafety #SafetyGear


