Overview of the video and the importance of safely removing a security door
Removing a security door is a critical task that requires care, the right tools, and proper technique to ensure safety and preserve the door and frame for potential reuse or replacement. Security doors are often fitted with reinforced locks, tamper-resistant screws, and heavy-duty hinges designed to resist forced entry, which also makes them challenging to remove without damaging the door or surrounding structure. A video guide that shows how to safely remove a security door provides visual clarity and a step-by-step demonstration, enhancing understanding and reducing risk.
The importance of safely removing a security door lies in preserving the integrity of the door and frame, preventing injury during removal, and maintaining property security while the door is off or being replaced. Improper removal can lead to costly repairs, damage to expensive hardware, or personal injury. This guide and accompanying video aim to equip homeowners, contractors, and DIY enthusiasts with the knowledge needed for effective and safe removal.
How to Remove a Security Door
Removing a security door involves several key steps to ensure the door comes off smoothly without damaging its components or the frame. The process typically starts with preparation, continues with identifying and addressing all fasteners, and concludes with careful detachment using proper tools and techniques.
First, understanding the type and design of the security door is essential. Many security doors use one-way screws or tamper-resistant fasteners, which require specific methods and tools to remove. The video often begins by highlighting these unique features, emphasizing safety gear such as gloves and eye protection, and showcasing the necessary removal tools.
Next, the removal of screws and bolts is carefully demonstrated. Often, screws are drilled or ground to create new slots for removal, or vice grips are used to extract one-way screws without stripping them. The video emphasizes the importance of patience and caution during this phase to prevent damage to the door or hardware.
After all fasteners are removed, the actual removal of the door from its hinges or frame usually requires two people, especially due to the heavy weight of steel or wrought iron doors. The video typically shows how to support the door while the last screws are removed to prevent injury or door damage.
Finally, the video may provide tips on storing or disposing of the door, along with advice on inspecting the frame for any damage before installing a new door.
For practical guidance and visual aid on this process, viewers can refer to the video “How-To: Remove a Steel Security Door,” which provides clear demonstrations and safety reminders throughout the removal steps. youtube
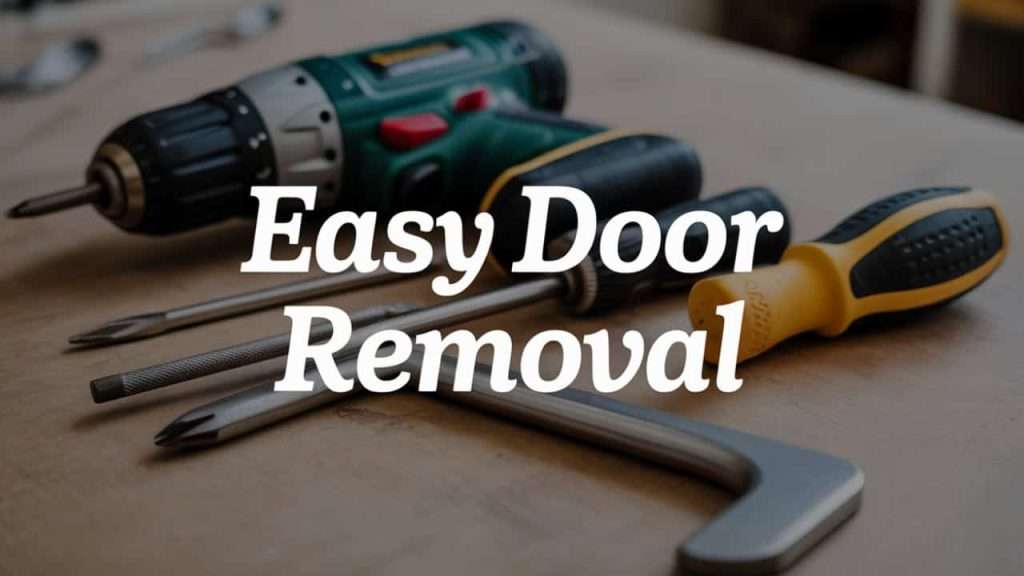
Tools Needed: Listing the essential tools for the removal process, such as a screwdriver, drill, and pry bar
Removing a security door demands specific tools to handle tamper-resistant screws and heavy components safely. Here is a numbered listing of essential tools typically required for the removal process:
Drill with Screwdriver Bits – Used for unscrewing the fasteners once new slots are cut or for regular screws.
Angle Grinder or Rotary Tool with Cutting Disc – Necessary for cutting slots into one-way or security screw heads to enable their removal.
Vice Grips or Locking Pliers – Utilized to grip and turn stubborn or stripped screws that cannot be removed by standard screwdrivers.
Screwdrivers (Phillips and Flat-head) – For unscrewing accessible screws and hardware components, as well as prying when needed.
Pry Bar or Crowbar – Helps gently detach the door or frame components without damage once the fasteners are removed.
Hammer – Useful in tapping out pins or loosening difficult fittings.
Safety Equipment (Gloves, Eye Protection, Ear Protection) – Vital to protect against sparks, sharp metal edges, and debris during cutting or prying.
Using the right combination of these tools ensures a smooth removal process, effectively dealing with security screws and heavy door materials. For instance, grinding a shallow slot into the screw head (about 1/8 inch deep) makes it possible to use a drill bit to unscrew it safely. Vice grips assist in removing screws with stripped or inaccessible heads.
Having these tools ready in advance minimizes delays and enhances safety during the door removal.
Preparing the Area: Clearing the space around the door for safety and efficiency
| Preparation Aspect | Description | Tips for Efficiency and Safety | Common Oversights | Suggested Practices |
|---|---|---|---|---|
| Clear Work Area | Remove furniture, rugs, and obstacles around the door | Create an open, clutter-free workspace for smooth door removal | Ignoring trip hazards or cramped spaces | Clear at least 3 3-foot radius around the door |
| Protect Surrounding Surfaces | Use drop cloths or cardboard to cover floors and walls | Prevent scratches, dents, or paint damage from tools or door movement | Skipping protection leads to property damage | Lay protective coverings in advance |
| Secure Door Support | Arrange sturdy supports or helpers to hold the door safely | Stabilizes the door when unfastening, preventing drops or injury | Trying to remove the door alone causes accidents | Have at least one assistant for heavy doors |
| Ensure Adequate Lighting | Use natural or artificial light focused on the work area | Good visibility reduces mistakes and enhances safety | Poor lighting increases the risk of injury | Use portable work lights if indoors |
| Safety Equipment Setup | Put on gloves, goggles, and ear protection before starting | Protects against metal shards, sparks, and loud noise during cutting/grinding | Neglecting PPE increases the risk of injury | Have PPE on and ready before beginning |
| Organize Tools | Arrange all necessary tools within easy reach | Minimizes movement and distractions during work | Tools are scattered, causing inefficiency | Layout tools in order of use |
| Plan Waste Disposal | Have a bin or area ready for screws, hardware, and debris | Keeps workspace clean and organized | Leaving debris increases the hazard | Clean as you go to maintain safe workspace |
| Check Door Condition | Inspect the door for heavy rust, damage, or special fasteners | Prepare for any additional removal challenges | Overlooking obstacles prolongs the project | Assess before starting to adjust plans |
| Notify Household | Inform other household members about the work area and safety zones | Prevents accidental interference or injury | Unaware occupants may cause disruptions | Communicate clearly with others in the Home |
| Plan for Replacement or Storage | Arrange space for the removed door or replacement materials | Keeps post-removal items safe and accessible | A door left in high-traffic areas causes a risk | Designate a safe storage location |
This comprehensive preparation ensures a safer, more efficient removal process by minimizing hazards and interruptions. Proper workspace setup, safety readiness, and organized tools help execute the removal steps systematically and reduce risks such as injury or property damage.
Inspecting the Door: Identifying any screws, bolts, or additional locking mechanisms that need to be addressed
Before attempting to remove a security door, inspecting the door closely for all fasteners and locking mechanisms is crucial to ensure no element is missed. Security doors often utilize specialized fasteners such as one-way screws designed to prevent tampering, in addition to standard screws and bolts.
Begin by examining the hinge side closely for screws or pins securing the door to the frame. Many security doors incorporate screws hidden under exterior covers or caps that must be removed first. Identify the types of screws—whether regular Phillips, torx, or one-way screws—since removal methods differ.
Check the locking mechanism area for bolts securing the lock assembly or additional deadbolts, which need to be detached before door removal. Some locks may have set screws or hidden fasteners accessible only after removing decorative plates.
Look for any additional fasteners, such as security plates, chains, or auxiliary locks, that are mounted on or around the door. Identify if electronic locks or alarms need power disconnection prior to removal.
This inspection helps create a removal plan that addresses all attachment points to avoid damage. Missing a critical fastener can cause the door to become dislodged, posing a risk of harm or damage.
Wear gloves and use a flashlight if needed to see into crevices. Document the location and type of each fastener for reference during removal. If some fasteners are one-way screws that resist normal unscrewing, additional tools or techniques, such as grinding or vice grips, will be required.
Taking time at this stage saves effort and improves safety during the actual removal process.
Removing the Hinges: Step-by-step instructions on removing door hinges using proper techniques
Removing the hinges is often the step that allows the door to be lifted free from the frame. Since hinges bear the door’s weight, proper technique and preparation are vital.
Support the Door: Have an assistant hold or support the door firmly to prevent it from dropping suddenly when the hinges are detached.
Locate Hinge Pins or Screws: Identify whether hinges have removable pins or screws that hold them to the door and frame.
Remove Hinge Pins: Using a hammer and nail punch or screwdriver, gently tap the hinge pins upward or downward to dislodge them. Work from the bottom hinge upward to maintain control.
Unscrew Hinges if Non-Removable Pins: Some hinges are screwed in without removable pins; use a drill or screwdriver to remove all hinge screws.
Lift the Door Free: Carefully lift the door away from the frame once the hinges are free.
Handle Door with Care: Set the door on a flat surface or stands to avoid warping or damage.
Using penetrating oil on rusty hinges beforehand may ease pin removal. Avoid forcing hinges, which can damage the frame or door edges. Always work slowly and maintain communication with helpers.
If hinge screws are one-way or security screws, their removal may involve drilling or grinding slots to enable the use of standard bits or vice grips.
This methodical hinge removal protects the door and ensures safe detachment without damage.
Detaching the Lock: Detailed guidance on how to remove the lock assembly carefully
Security doors often feature complex locking systems, including deadbolts, latch locks, and multi-point locks, which require disassembly before the door can be removed. Carefully detaching the lock prevents damage to the mechanism and allows potential reuse.
Identify Lock Type: Determine whether the lock is mechanical or electronic, and whether it has visible or hidden screws.
Disconnect Power if Electronic: For electronic locks, disconnect the power source or battery first for safety.
Remove Lock Faces: Most locks have exterior and interior faceplates secured with screws. Remove these usingan appropriate screwdriver or drill bits.
Unscrew Lock Mechanism: With faceplates off, unscrew the lock mechanism from the door slab. Keep screws organized for reassembly.
Remove Deadbolt or Latch: Slide out the deadbolt or latch assembly after removing the screws.
Observe Lock Components: Take note of springs or small parts that may fall out; keep them safe.
Test Lock Separation: Gently test if the lock components separate from the door without resistance.
Use Caution with Reinforced Locks: Some locks have reinforced plates or trim; these may require additional unscrewing or prying.
Taking photos during disassembly can assist with reinstallation. If screws are tamper-resistant, prepare to grind or use specialized bits.
Carefully detaching locks maintains hardware integrity and prevents costly replacements.
Removing Additional Fasteners: Discussing other screws or anchors that may be securing the door in place
Beyond hinges and the lock, security doors may have several other fasteners securing them to the frame or surrounding wall to enhance strength and security. These additional anchors must be removed for the door to be completely detached.
Common extra fasteners include:
Security Screws on Door Frames: Typically located along the perimeter, these screws secure the door frame to the wall or masonry.
Anchor Bolts: Heavy-duty bolts embedded in concrete or brick walls that secure the door frame.
Weather Stripping Nails or Screws: Small fasteners holding weather seals in place.
Strike Plates and Reinforcement Plates: Secured with screws that may be hidden under decorative covers.
To remove, systematically work around the frame, identifying each type of fastener. Use appropriate tools such as a drill with masonry bits for anchors, a screwdriver for screws, and a pry bar for nails.
Tamper-resistant screws might require cutting slots or using locking pliers to remove, as standard bits will not grip. Heating tools or penetrating oils can help loosen rusted fasteners.
Ensure each fastener is fully removed before attempting to pull the door frame away from the wall to avoid damage or injury.
Document the location and type of each fastener during removal for easier reinstallation or replacement.
Using a Pry Bar: Tips on utilizing a pry bar to gently detach the door from its frame without damaging it
After all screws, bolts, and pins are removed, a pry bar is useful for detaching the door or frame components that may be stuck due to paint, rust, or tight fitting.
Tips for effective pry bar use:
Choose the Right Pry Bar: Use a flat, sturdy pry bar sized for the space. Smaller pry bars are ideal for use in tight gaps.
Protect Surfaces: Place a thin wood shim or cardboard between the pry bar and door/frame to prevent scratching or denting metal surfaces.
Apply Steady Pressure: Insert the pry bar gently in the gap between the door/frame and the wall or jamb. Apply slow and steady leverage to loosen the door.
Work Along the Edge: Pry incrementally working along the edge to evenly distribute force and avoid warping.
Avoid Excessive Force: If resistance is strong, double-check for missed fasteners rather than forcing removal.
Use Helpers: Have someone support the door’s weight as it loosens to prevent injury or accidental dropping.
Combine with Light Hammer Taps: Gently tapping the pry bar can help loosen stubborn areas.
Proper prying minimizes damage to costly security doors and frames, making reinstallation easier if desired. It also helps preserve the surrounding wall finish and trim.
(FAQs)
Q1: Can I remove a security door by myself?
A: While some smaller or lighter security doors can be removed by experienced DIYers solo, most require at least two people due to weight and to manage door control safely.
Q2: What if the security screws won’t unscrew?
A: Security screws are designed to be tamper-resistant. Common solutions include grinding a slot for a flat-head screwdriver, using vice grips to turn the screw, or employing a screw extractor.
Q3: How do I protect myself during removal?
A: Always wear gloves, safety goggles, and ear protection. Clear the area of obstacles and use proper tools. Avoid rushing to prevent injuries.
Q4: Will removing the door damage my frame?
A: If done carefully with all fasteners removed and proper prying technique, the frame should remain intact and reusable.
Q5: Can I reuse the locks and hardware from the removed door?
A: If removed without damage, locks and hardware can be reused. Take care when detaching to prevent damage to components.
Conclusion
Safely removing a security door requires careful planning, the correct tools, and methodical execution to protect both the door and the surrounding structure. The process begins with a thorough inspection, follows with the careful removal of specialized screws, hinges, and locks, and concludes with gentle prying to free the door from its frame. This approach minimizes damage, enhances safety, and preserves potentially reusable hardware.
Preparation—clearing the work area, donning safety gear, and organizing tools—sets the foundation for efficient removal. Awareness of tamper-resistant screws and how to remove them without stripping is critical. Employing the right cutting and gripping tools, alongside teamwork for handling heavy doors, ensures a smooth detachment process.
#SecurityDoorRemoval #HomeSecurity #DIYHomeProjects #DoorRemovalGuide #SafetyFirst #TamperResistantScrews #LocksmithTips #HomeImprovement #SecureYourHome #PryBarTips