Importance of Selecting the Right Helmet Size for Safety and Comfort
Selecting the right helmet size is a cornerstone of rider safety and comfort. A helmet acts as a critical protective barrier against head injuries, absorbing impacts and safeguarding the skull during accidents. Yet, even the most advanced helmet technology cannot perform effectively if the helmet does not fit properly.
A poorly sized helmet may shift, wobble, or leave parts of the head exposed, dramatically reducing its protective function and increasing the risk of injury.
Proper helmet sizing is closely tied to comfort as well. An ill-fitting helmet can cause pressure points, headaches, or distracting discomfort, which may prompt riders to remove or adjust the helmet improperly while riding—thereby compromising safety.
Conversely, a helmet that fits snugly yet comfortably distributes pressure evenly across the head, reducing fatigue and allowing prolonged use without discomfort. This synergy between fit, safety, and comfort makes sizing a crucial step when selecting a motorcycle helmet.
Industry standards such as DOT, ECE, and SNELL explicitly recognize fit as key to helmet performance, and many brands provide detailed sizing charts and adjustment mechanisms to facilitate accurate sizing.
This guide covers the practical and technical aspects of “How to Size Your Head for a Motorcycle Helmet,” including correct measuring techniques, understanding helmet shape variations, using sizing charts, trying helmets on for a proper fit, and identifying common sizing mistakes to avoid. Our goal is to empower you with the knowledge to select a helmet that feels tailor-made, delivering maximum protection and comfort.
How to Size Your Head for a Motorcycle Helmet
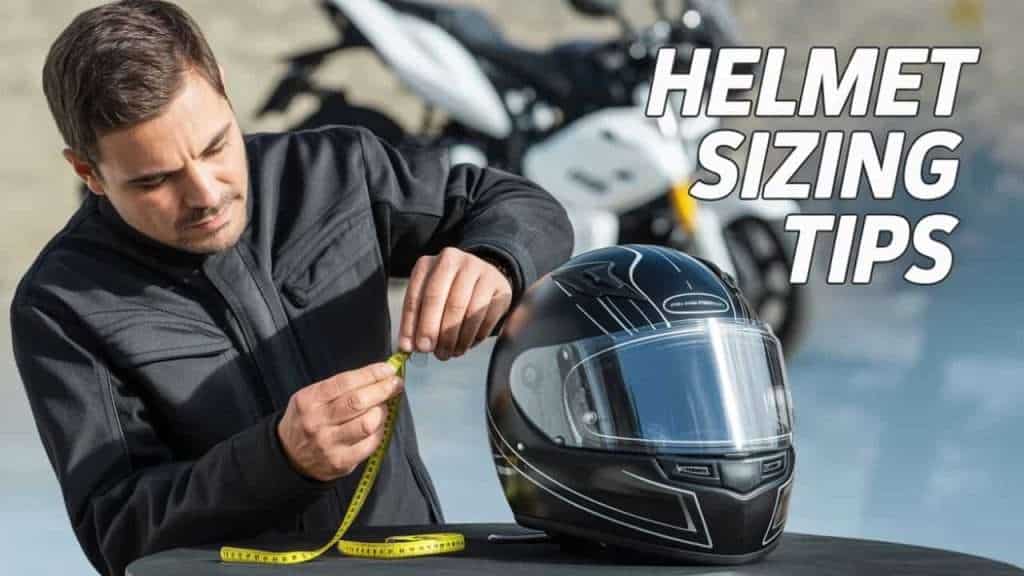
Sizing your head correctly for a motorcycle helmet begins with an accurate measurement of your head circumference, which serves as the primary parameter for consulting the manufacturer’s size charts.
Measure at the widest part of the head, usually about 1 inch above the eyebrows and ears, ensuring the tape is level and comfortably snug—not tight or loose. Taking multiple measurements and averaging them improves accuracy and predictability.
Once you have this measurement, compare it to the sizing guide of the helmet brand you intend to buy, as sizing may vary between manufacturers and helmet styles. Look for corresponding sizes such as Small, Medium, Large, or numeric measurements indicating centimeters or inches.
Awareness of your head shape, whether more oval or round, complements your size choice, as helmets are often designed with different interior shapes to fit various head contours.
Trying helmets on after measuring ensures the best fit, allowing you to feel how snug and stable the helmet is, whether it covers your forehead appropriately, and if the padding contacts your skull evenly. Proper fit is snug yet comfortable, without pressure points or slipping.
Many helmets offer adjustable padding, ratchets, or customizable liners to refine fit. Buying a helmet without measuring or trying risks selecting an ill-fitting product that compromises both safety and enjoyment of riding.
Tools Needed: Measuring Tape or String, and a Ruler for Measurement
Flexible Measuring Tape
A soft, flexible measuring tape designed for tailoring or sewing is the most accurate tool for measuring head circumference. Its flexibility allows it to conform closely to the contours of the head, capturing the precise circumference without stretching or pulling excessively. Many such tapes feature both metric and imperial units, facilitating reference across various helmet sizing systems.
String and Ruler Alternative
In the absence of a flexible tape, a non-stretchable string or shoelace can be used. Wrap the string around your head at the correct position, mark or pinch the string where the ends meet, then lay the string flat and measure its length with a ruler or tape measure. While slightly less direct, this method is practical and yields reliable sizing if executed carefully.
Mirror or Helper
Measuring your own head circumference can be challenging without direct visibility. Using a full-length or handheld mirror to verify tape or string placement ensures the measuring device remains level and correctly positioned. Alternatively, having a friend or Family member take the measurement can increase accuracy.
Recording Material
Use a notebook, smartphone, or any device to record your measurements; ensure the details are not forgotten or misremembered when shopping or consulting sizing charts.
Utilizing these tools properly enhances measurement accuracy, leading to a more precise helmet fit.
Measuring Your Head: Instructions on How to Measure the Circumference of Your Head Accurately
| Step Number | Task Description | Detailed Instructions | Important Tips |
|---|---|---|---|
| 1 | Prepare Your Tools | Obtain a flexible measuring tape or string with a ruler. Use a mirror or get assistance if possible | Ensures accurate placement of the measuring device |
| 2 | Locate Measurement Placement | Identify the widest part of your head, approximately 1 inch (2.5 cm) above your eyebrows, across the forehead, and ears | This is where the helmet will comfortably rest |
| 3 | Position Measuring Device | Wrap tape or string evenly around the head at the identified position. Keep it level across the back of the skull and front | Avoid angling tape upward or downward |
| 4 | Ensure Proper Tension | Pull the tape snugly, but not so tight that it indents the skin. Avoid loose measurements that could cause an overly large helmet size | Snug fit mimics real helmet positioning |
| 5 | Check Level in Mirror | Verify that the measuring tape or string remains horizontal and stable around your head | Prevents skewed or inconsistent sizing |
| 6 | Take the Measurement | Read and record the measurement at the tape’s 0 point, or mark the string length and measure with a ruler | Record in centimeters and inches if possible |
| 7 | Repeat Measurement | Take 2-3 measurements to ensure consistency or identify the average for accuracy | Avoid mistakes due to tape slips or movement |
| 8 | Account for Hair or Headgear | If you wear thick hair, braids, or intend to wear bandanas, include this in sizing by measuring with hair style in place | Adjust helmet size accordingly |
| 9 | Compare with Size Charts | Consult the helmet manufacturer’s size chart using the recorded measurement | Size charts vary; prioritize brand-specific guidance |
| 10 | Test Fit via Trial | Whenever possible, try a helmet that matches the measurement to confirm fit | Emphasizes the importance of physical validation beyond numeric sizing |
Following this structured approach maximizes the accuracy of your helmet size determination.
Finding the Right Fit: Understanding Helmet Sizing Charts and How to Match Your Measurements to Them
Helmet sizing charts translate head circumference into specific helmet sizes, such as S, M, L, XL, or numeric sizes measured in centimeters or inches. Each brand typically publishes a size chart that lists head measurement ranges for available helmet sizes. Because sizing systems vary between brands and helmet models, consulting the exact chart for your specific helmet is crucial.
These charts often specify the minimum and maximum circumference for each size. If your measurement falls between two sizes, it’s usually safer to size up for comfort, as helmet padding compresses slightly over time. Some charts also provide internal shell dimensions, enabling comparison of fit profiles.
Additionally, some manufacturers offer shape options—such as round, oval, intermediate oval, or long oval—to accommodate different head shapes, which affects how sizing translates in practice.
Understanding these nuances helps avoid common pitfalls where a size might be right numerically but unsuitable for your head shape.
Reading and using helmet size charts effectively helps ensure you select a helmet that fits securely and comfortably without compromising protection.
Different Helmet Shapes: Discuss How Head Shapes (Oval, Round) Affect Sizing and Fit
Helmet shells come in various internal shapes designed to match typical human head contours. The two primary general shapes are:
Round Oval
Helmets with a round-oval shape provide more room from front to back than from side to side. This shape suits individuals with longer head dimensions, where the head’s length exceeds its width appreciably. Round-oval helmets are common among many brands and serve a wide range of riders.
Intermediate Oval
Intermediate ovals offer a balance between round and long oval shapes. These helmets accommodate heads with moderately elongated contours, but overall dimensions are more balanced.
Long Oval
Designed for riders whose heads are noticeably longer front-to-back relative to their width. These helmets provide extra length accommodation without excess width.
The significance of helmet shape lies in the fact that a rider with an oval head wearing a round-shaped helmet may experience pressure points and tightness, whereas the converse can cause looseness and shifting. Manufacturers design padding systems around these shapes, so matching the shape as well as the size measurement is important.
If you are uncertain about your head shape, trying different helmet styles helps identify the best ergonomic match. Some brands clearly label which helmet shape corresponds to their websites or packaging.
Trying On the Helmet: Tips on How to Properly Try on a Helmet for the Best Fit
When trying on a motorcycle helmet:
1. Start with hair style as usual to ensure size accuracy.
2. Put the helmet on by grasping both sides and sliding it straight down over the head — avoid tilting or forcing it on crookedly.
3. Once on, the helmet should feel snug over the forehead and around the circumference without causing immediate discomfort.
4. Engage all retention straps and secure the chin strap firmly.
5. Wear the helmet for at least 10-15 minutes to detect any emerging discomfort or pressure points.
6. Move your head side to side, nod, and shake to assess stability; the helmet should not shift or slip.
7. Check that vision is unobstructed and peripheral views are broad.
8. Be attentive to excessive tightness, pinching, or hot spots, which signal poor fit or the wrong size.
9. Try different sizes or models as needed to find the ideal combination of security and comfort.
10. Consider the climate—ventilation and airflow may affect comfort during extended rides.
A proper try-on process often saves time and money while ensuring maximum protective value.
Checking for Proper Fit: Signs That Indicate Whether the Helmet Fits Correctly or Needs Adjustment
Signs that a helmet fits properly include:
Stable Fit: The helmet remains securely in place, without rocking or sliding, even when you shake or turn your head.
Even Pressure: Pads contact your head evenly without uncomfortable pressure points.
Forehead Positioning: Position the helmet approximately 1-2 finger widths above your eyebrows to ensure adequate forehead coverage.
Adjustable Fit: The retention system can be tightened or loosened to achieve a snug fit without pain.
No Gaps: There are no spaces between the helmet lining and your head that would allow excessive movement.
Comfort During Wear: No headaches, irritation, or hot spots appear within 15 minutes of continuous wear.
Proper Strap Fit: The Chin strap can be secured firmly without choking or loosening.
If any of these signs fail to manifest, you likely need a different size, shape, or padding adjustment. Immediate fit correction is vital to avoid ineffective protection during a ride.
Adjustable Features: Overview of Padding and Different Adjustable Components in Helmets
Modern motorcycle helmets incorporate adjustable components for optimized fit:
Removable/Replaceable Padding: Most helmets come with a set of removable liners and cheek pads of varying thickness, allowing you to customize the interior fit.
Ratchet Dial Systems: These enable micro-adjustments to the inner circumference for precise sizing.
Pin-Lock or Sliding Straps: Adjustable straps let riders tighten or loosen the fit around the head.
Chin Strap Adjusters: Quick-release or buckled chin straps can be fine-tuned while wearing for comfort and stability.
Ventilation Controls: Adjustable vents indirectly enhance comfort but do not directly affect fit.
Modular or Flip-Front Mechanisms: Some helmets feature flip-up sections, which impact weight distribution and fit dynamics.
Utilizing these adjustable features in combination typically delivers a secure and comfortable experience tailored to individual head dimensions and preferences.
Common Sizing Mistakes: Highlighting Mistakes to Avoid During the Sizing Process
Measuring incorrectly: Using a tape measure at the wrong position or with inconsistent tension.
Ignoring Different Brand Sizing: Not checking manufacturer charts; helmets do not have universal sizing.
Assuming One Size Fits All Styles: Different helmet types (full-face, open-face, modular) may fit differently.
Not Considering Head Shape: Failing to match the helmet shape (e.g., round vs. oval) can cause discomfort.
Buying on Look Alone: Choosing helmets solely on color or design rather than fit.
Neglecting to Try On Before Purchase: Online purchases without proper knowledge can result in a poor fit.
Skipping Fit Testing: Failing to perform shake or pressure point tests.
Improper Strap Adjustment: A chin strap that is too loose or too tight reduces safety.
Ignoring Hair/Accessories: Not accounting for hairstyles or headwear when measuring.
Sharing Helmets: Using a helmet that is not fitted to you compromises both fit and safety.
Avoiding these mistakes is crucial to achieving a safe and comfortable helmet experience.
(FAQs)
Q1: How do I measure my head for a motorcycle helmet?
A. Use a flexible measuring tape around the widest part of your head, about 1 inch above the eyebrows and ears. Keep the tape level and snug. If no tape is available, use a string and measure its length with a ruler.
Q2: What if my measurement falls between two helmet sizes?
A. It’s generally recommended to size up for comfort since padding compresses over time.
Q3: Can helmet sizes vary between brands?
A. Yes, always check the specific brand’s size chart, as sizes are not standardized across manufacturers.
Q4: How do I know if a helmet fits correctly?
A. The helmet should feel snug but not cause pressure, must stay stable during head movement, and cover the forehead properly.
Q5: Is it important to consider head shape when selecting a helmet?
A. Yes, matching helmet shape (round versus oval) to your head shape avoids pressure points and ensures comfort.
Conclusion
Properly sizing your head for a motorcycle helmet is a fundamental step to ensuring effective head protection and comfort during riding. Accurate measurement, understanding sizing charts, recognizing variations in helmet shape, and trying helmets on rigorously allow you to find the best personal fit.
Utilizing adjustable features and attentively fitting straps enhances stability and wearer satisfaction, encouraging consistent helmet use.
Avoiding common sizing errors and regularly checking fit help protect you against the risks of ill-fitting helmets. With knowledge and practical application, selecting a helmet that fits like a second skin becomes straightforward, offering confidence and security on every ride.
Prioritize fit alongside safety certifications to maximize the protective potential of your helmet, improving your experience and reducing injury risk in all your motorcycle journeys.
#HelmetSizing #MotorcycleHelmetFit #HowToMeasureHead #HelmetSafety #ProperHelmetFit #RideSafe #MotorcycleGear #HelmetAdjustment #HelmetComfort #PPECompliance


