Hard hats are a vital piece of personal protective equipment (PPE) designed to protect the wearer from head injuries caused by falling objects, impacts, debris, and electrical hazards. Widely used in construction sites, mining, manufacturing, and other industries where head injuries are a significant risk, hard hats form the first line of defense to safeguard workers’ health and safety. The importance of hard hats extends beyond regulatory compliance with standards such as OSHA (Occupational Safety and Health Administration) and ANSI (American National Standards Institute); they save lives by minimizing the severity of head injuries.
A hard hat’s essential role is to absorb and disperse the energy of impacts, thereby reducing trauma to the skull and brain. Besides impact resistance, modern hard hats also provide features like electrical insulation, weather resistance, and comfort enhancements for prolonged wear. Correct assembly and fitment of a hard hat are crucial to ensure the protective features function as intended. Improperly assembled or worn hard hats can fail, exposing workers to avoidable dangers.
This article serves as a comprehensive guide focusing on how to put a hard hat together correctly. It will cover the components of a hard hat, step-by-step assembly instructions, adjustment tips, and final checks to guarantee optimal safety and comfort. By understanding this process, users will be empowered to maintain the hard hat’s effectiveness, comply with safety codes, and enjoy peace of mind on the job.
How to Put a Hard Hat Together
Assembling a hard hat properly is essential to ensure its protective capability is maximized. The process involves combining the shell—the hard outer protective layer—with the suspension system that sits inside the hat and functions as a shock absorber and fit adjuster. Additionally, securing accessories like a chin strap can enhance stability during active work.
First, inspect all components before assembly. Check the shell for cracks or dents and the suspension system for worn straps or broken clips. Using damaged parts compromises safety and voids compliance with safety standards. After inspection, turn the hard hat shell upside down and align the suspension system so that the brow pad or sweatband is facing the front (the side with the brim).
Next, insert the suspension’s four or more retention tabs into the slots inside the shell. These tabs typically click or snap into place, ensuring a firm connection. Press firmly on each tab to make sure they are fully seated; loose attachment can cause the suspension to dislodge during impact.
Once the suspension is attached, adjust it to fit your head snugly. Many hard hats use a ratchet or pin-lock adjustment system. Turn the ratchet knob or insert the pins in the appropriate holes until the fit is secure but comfortable, allowing for some movement but no looseness.
Finally, attach additional features such as the chin strap if available. The chin strap is clipped into designated points on the shell and adjusted for firmness under the chin to keep the hat stable during movement or windy conditions. Perform a final fit check by wearing the assembled hard hat and shaking your head gently to verify stability.
Proper assembly not only provides safety but also comfort, encouraging consistent use. For professional guidance or specialized hard hats, always refer to the manufacturer’s instructions or certified training resources to maintain compliance and protection.
Overview of Hard Hat Components: Shell, Suspension System, and Chin Strap
The Shell
The hard hat shell is the outermost protective part, usually made from high-density polyethylene (HDPE), fiberglass, or advanced thermoplastics. It acts as the primary barrier against falling objects, debris, and penetration hazards. The shell’s rigid construction disperses impact energy away from the wearer’s head to minimize injury. It also often features ventilation holes, brims, or slots for accessories such as face shields or earmuffs. The longevity of the shell depends on proper care and regular inspections to detect damage that could impair protection.
The Suspension System
The suspension system is the internal harness that cradles the wearer’s head inside the hard hat. It typically consists of adjustable straps, bands, and a cushioned sweatband that absorb shock and provide comfort. The suspension creates a space between the shell and the head, allowing impact energy to dissipate without direct contact to the skull. Accurate adjustment of the suspension system is crucial to ensure a snug fit that prevents the hard hat from slipping or dislodging during work. Suspension systems come in types like ratchet, pin-lock, or friction-fit, each offering varied ease of adjustment and fit precision.
The Chin Strap
The chin strap attaches to designated clips or holes on the hard hat shell and secures the helmet by fitting firmly beneath the chin. It prevents the hard hat from falling off during rapid movements, windy conditions, or when working in elevated environments. Made usually from durable webbing or elastic materials, chin straps are adjustable for comfort and stability. Although not mandatory on all worksites, their use is strongly advised in environments prone to high motion or where loss of head protection could be hazardous.
Step 1: Gather All Necessary Components and Tools for Assembly
| Item Number | Component or Tool | Description and Purpose | Important Notes and Tips |
|---|---|---|---|
| 1 | Hard Hat Shell | The rigid protective outer layer | Inspect for cracks, deformities, or discoloration before use |
| 2 | Suspension System | The internal harness comprising straps, bands, and sweatband | Ensure all clips, straps, and padding are intact and clean |
| 3 | Chin Strap (Optional) | Webbing or elastic strap to secure the hat under the chin | Check for fraying or weakened fasteners |
| 4 | Suspension Retention Tabs | Plastic or metal tabs used to secure suspension to shell | Confirm tabs are present and undamaged |
| 5 | Adjustment Mechanism | Ratchet knob, pin-lock, or friction-fit for sizing the suspension | Verify smooth operation of adjustment controls |
| 6 | Clean Workspace | A clean, flat surface for assembly | Prevents contamination and damage during assembly |
| 7 | Instruction Manual | Manufacturer’s assembly and maintenance guide | Always keep it handy for reference on model-specific steps |
| 8 | Cleaning Supplies | Mild detergent, soft cloth for cleaning components | Clean parts before assembly for hygiene and performance |
| 9 | Optional Tools | Small screwdriver or pliers if needed to adjust certain parts | Not usually required but helpful for maintenance or replacement |
| 10 | Replacement Parts | Extra sweatbands, suspension straps, or clips if available | Useful to swap old or damaged parts during assembly |
This comprehensive checklist ensures that all necessary components and tools are on hand before beginning the assembly process. Proper preparation not only saves time but also guarantees that the hard hat will function correctly and provide the intended protection without delay or compromise.
Step 2: Attach the Suspension System to the Hard Hat Shell
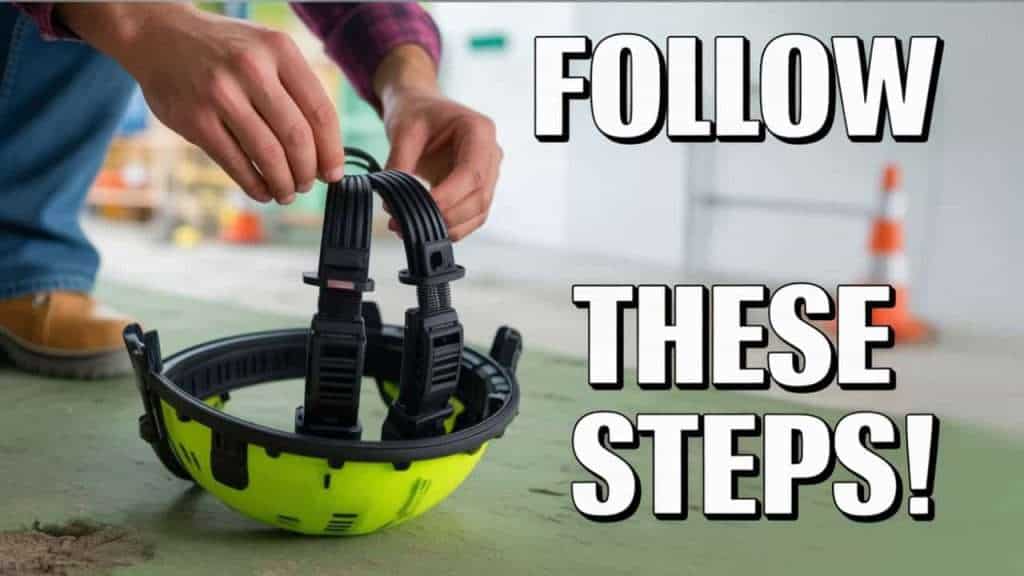
Begin by turning the hard hat shell upside down, placing it on a clean flat surface with the inside facing up. Identify the slots around the inner circumference of the shell designed to hold the suspension system keyed tabs.
Align the suspension system so that the brow pad or sweatband faces the front brim of the hard hat, ensuring correct orientation for comfort and fit. Fold the suspension tabs outward slightly if they are rigid or require flexing to fit.
Starting with one tab, insert it firmly into its corresponding slot on the shell until you hear or feel a secure snap. Repeat this process for all tabs—usually four—circle-wise, confirming each is securely fastened. Press down at the center cross of the suspension system to make certain all clips are fully engaged and the system sits tightly within the shell.
A properly attached suspension system will not shift when moved, indicating it is ready for use. Improperly seated tabs can reduce shock absorption effectiveness or cause failure during impact, so take care to verify attachment thoroughly.
Step 3: Adjust the Suspension System for a Proper Fit
Once attached, the suspension system must be adjusted to ensure a snug yet comfortable fit on the wearer’s head. Most modern hard hats feature an adjustment mechanism such as a ratchet wheel or pin-lock system.
To adjust a ratchet suspension, turn the knob counterclockwise to loosen and fit over your head. Then, turn it clockwise slowly until the suspension feels secure and stable around your head circumference. For pin-lock systems, select appropriate holes along the suspension strap and lock the pins in place, testing for fit.
The suspension should cradle the head without excessive pressure points and allow slight movement without loosening. The hard hat must sit approximately 1 to 1.25 inches above the eyebrows, providing protection without obstructing vision.
Check that the suspension distributes the weight evenly to reduce fatigue during extended wear. If the fit is uncomfortable or the system slips, re-adjust until the ideal balance of security and comfort is achieved.
Step 4: Secure Any Additional Features Like the Chin Strap
If your hard hat model includes a chin strap or if you choose to add one for extra security, now is the time to attach it. Most chin straps clip or snap into designated slots or tabs located on the sides or rear of the hard hat shell.
Attach both ends of the chin strap firmly to the shell, ensuring each clip is engaged and will not loosen during use. Adjust the strap length so it fits comfortably under the chin without being too tight—allow room for talking or jaw movement but maintain enough tension to prevent the hard hat from falling off.
Test the chin strap’s integrity by gently pulling on it and shaking your head. The hard hat should remain stable without wobbling or sliding. Regularly inspect chin strap components for wear, replacing straps or fasteners when needed to maintain protective functionality.
Step 5: Perform a Fit Check to Ensure Stability and Comfort
Wearing the fully assembled hard hat, perform a final fit check:
1. Place the hard hat squarely on your head with the brim facing forward.
2. Shake your head gently side to side and up and down; the hat should remain stable without rocking or slipping.
3. Confirm the suspension adjustment feels snug but not restrictive.
4. Check the chin strap if installed, ensuring it secures the hat without discomfort.
5. Verify your peripheral vision is clear and the hard hat does not obstruct sight.
6. Adjust any components if instability, discomfort, or restriction is noticed.
This final step confirms the hard hat is ready for use, maximizing protection during work activities. Remember, a properly fitted hard hat is more likely to be worn consistently, thus providing the intended safety benefits.
(FAQs)
Q1: Can I use suspension systems from different hard hat brands?
A1: It is generally recommended to use suspension systems that are designed specifically for your hard hat brand and model to ensure proper fit, safety, and compliance. Mixing components may reduce effectiveness.
Q2: How often should I inspect and replace hard hat components?
A2: Inspect your hard hat and its components before each use for cracks, deformities, or wear. Replace the suspension system at least every 12 months or sooner if damaged. The shell lifespan varies by manufacturer, typically 2 to 5 years.
Q3: Is a chin strap mandatory for hard hats?
A3: Chin straps are not mandatory for all jobs but recommended for use in high-movement or elevated work environments to prevent the hard hat from falling off.
Q4: Can I clean my hard hat?
A4: Yes, clean the shell and suspension regularly with mild soap and water. Avoid harsh chemicals that may weaken materials.
Q5: What if the hard hat is uncomfortable even after adjustment?
A5: Try repositioning the suspension or using additional comfort accessories like sweatbands. If discomfort persists, consider a different suspension type or hard hat model designed for better ergonomics.
Conclusion
Putting a hard hat together correctly is crucial for ensuring the safety and wellbeing of workers in hazardous environments. Through understanding and correctly assembling its key components—the shell, suspension system, and optional chin strap—a user guarantees maximum protection against head injuries caused by impacts and falling objects. Adjusting the suspension for a snug fit and securing any additional features enhances comfort and stability, encouraging consistent use.
Proper pre-assembly inspection and maintenance prevent compromised safety and extend the lifespan of the hard hat. This guide, grounded on industry best practices and compliance requirements, offers essential knowledge for anyone responsible for their own or others’ head protection. For optimal safety outcomes, always follow the manufacturer’s assembly instructions and participate in workplace safety training.
Remember, a hard hat is not just equipment—it is a lifesaver. Assembling it with care and precision reinforces its role as a critical shield in dangerous work conditions.
Hashtags:
#HardHatSafety #ConstructionSafety #PPEAssembly #WorkplaceSafety #HeadProtection #HardHatAssembly #SafetyGear #OSHACompliance #ANSIStandards #SafetyFirst


