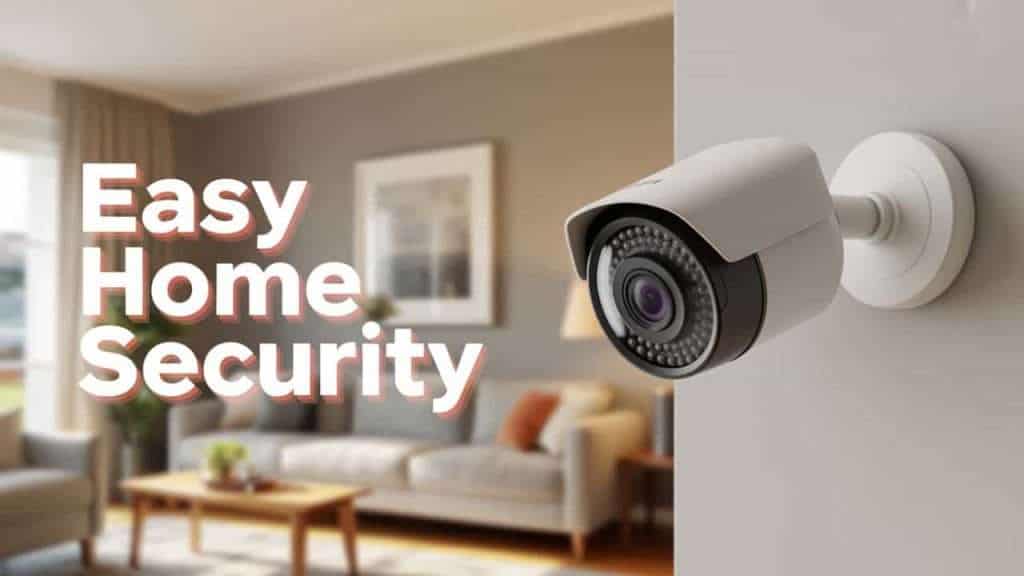
Home security cameras are essential devices that monitor and safeguard residential properties by capturing real-time video footage and recording activities at key points. Their primary purpose is to deter potential intruders, provide visual evidence in cases of theft or vandalism, and offer homeowners peace of mind through remote surveillance.
Advances in technology have transformed security cameras from simple video recorders into sophisticated smart devices that integrate with Home automation, offer night vision, motion detection, cloud storage, and easy smartphone access.
Installing Home security cameras can enhance a property’s overall safety by providing critical situational awareness both inside and outside the Home. Whether used to monitor entrances, driveways, or indoor spaces, security cameras enable homeowners to receive instant alerts, review past footage, and respond quickly to suspicious activity. Furthermore, visible cameras can serve as an effective deterrent, helping prevent crime before it occurs.
This guide will cover the comprehensive process of setting up Home security cameras, from choosing the right type of camera based on your needs, to deciding on ideal locations for optimal coverage, through the installation process tailored for both indoor and outdoor units, and finally, connecting devices to your Home network and configuring camera settings. We will also discuss ongoing maintenance and troubleshooting tips to ensure reliable performance.
For detailed product comparisons and installation tips, authoritative resources like PCMag’s Home Security Camera reviews and Security.org offer valuable insights (source).security
How to Set Up Home Security Cameras
Setting up Home security cameras involves preparation, equipment selection, installation, and configuration steps to ensure comprehensive coverage and reliable operation. Begin by assessing your security needs and property layout to select cameras suited to your environment—indoor, outdoor, wired, or wireless.
First, carefully unbox the camera and familiarize yourself with the hardware and included accessories. Read the installation manuals and prepare all necessary tools, including drills, screws, mounting brackets, and Wi-Fi credentials. Decide whether to position cameras indoors to monitor living spaces or outdoors facing entrances, driveways, and yards to deter intrusion and detect early signs of intrusion.
Before physical installation, test each camera by powering it on and connecting to the Home wireless network or wired DVR/NVR system. Use the mobile app or desktop software to access the live feed and verify proper operation.
During installation, mount cameras securely on walls, ceilings, or eaves with appropriate anchors and protective housings. For wired models, route cables safely along walls or through conduits. For wireless cams, ensure a strong Wi-Fi signal at the mounting location.
After installation, configure camera settings, including resolution, motion detection sensitivity, recording schedules, and notification preferences via the app or control panel. Regularly verify camera angles and image clarity, making physical or software adjustments as needed.
Finally, schedule routine maintenance, such as cleaning lenses, checking for firmware updates, and testing connectivity, to ensure optimal security.
A comprehensive setup empowers homeowners with real-time monitoring access, both onsite and remotely, enhancing safety through proactive surveillance.
Choosing the Right Type of Camera
Indoor Cameras
Indoor security cameras are primarily designed for interior monitoring and feature sleek designs, easy mounting options, and typically operate over Wi-Fi.
They often include advanced features like two-way audio, pan-tilt controls, night vision, and person detection. These cameras help monitor common areas, entrances, children, pets, or valuables.
Outdoor Cameras
Built to withstand weather conditions, outdoor cameras typically have robust housings with waterproof ratings (e.g., IP65/IP66). They may offer long-range night vision, motion-activated floodlights, and wider fields of view. Power sources can be wired, solar, or battery-operated. These cameras monitor driveways, yards, gates, and blind spots.
Selecting the right type next depends on factors such as property layout, installation preferences (wired vs. wireless), budget constraints, and desired features, including resolution, integration with smart Home systems, and cloud storage capabilities.
Determining the Best Locations for Cameras
| Location Type, Ideal | l Camera Type, Key Benefits, Placement Tips, Potential Challenges, Best | Best Usage Examples | |||
|---|---|---|---|---|---|
| Front Door | Outdoor/Wired or Wireless | Captures visitors and potential intruders | Monitors vehicles and activity at the driveway | Lighting conditions, weather exposure | Main entrance monitoring |
| Back Door | Outdoor/Infrared | Secondary entry point, less visible but critical | Mount under eaves, angled for maximum coverage | Potential blind spots due to walls or bushes | Backyard or side entrance surveillance |
| Driveway/Garage | Outdoor/PTZ cameras | Elevated mounts to cover a wide area | A narrow area may limit the field of view | Power access, cable routing | Vehicle and delivery monitoring |
| Living Room | Indoor/Wi-Fi cams | Mount to cover the entrance and desk | Place high with unobstructed views | Interior activity, valuables, and Family safety | General indoor monitoring |
| Nursery/Child’s Room | Indoor/Audio capable | Monitor child safety and engagement | Position to avoid direct sunlight or noise | Constant monitoring could raise privacy issues | Childcare surveillance |
| Hallways/Entry Corridors | Indoor/Compact | Coverage of internal movement between rooms | Near ceilings, away from reflective surfaces | Privacy concerns, Family member acceptance | Home interior transition monitoring |
| Backyard/Garden | Outdoor/Battery or Solar | Covers perimeter, intruder approach | Camouflaged placement, weatherproofing | Interference from plants or animals | Perimeter security |
| Home Office | Indoor/Wired | Protects sensitive documents and equipment | A place to cover stair angles or platforms | Possible light reflection | Workspace security |
| Stairwells | Indoor | Controls access through multi-level homes | Mount to cover the entrance and the desk | Limited installation space | Internal vertical movement monitoring |
| Shared Walls/Fences | Outdoor | Monitoring neighbor boundaries | Angled to minimize blind spots | Jurisdiction or privacy restrictions | Boundary security |
This table helps homeowners strategically place security cameras to maximize coverage while addressing challenges like lighting, power access, and privacy. Proper location selection ensures that cameras capture relevant events and produce usable footage.
How to Install Indoor Cameras
Installing indoor cameras involves locating suitable mounting points that provide a broad view of the room without obstructing daily activities. Choose wall or ceiling mounts near power sources for wired units, or areas with convenient Wi-Fi coverage for wireless devices.
Use the provided mounting template to drill holes and attach screws securely. Avoid areas near windows or bright lights that may cause glare or poor image quality. Install cameras at heights of 7-8 feet to prevent tampering and maximize the field of view.
For wireless cameras, ensure they have uninterrupted power and Wi-Fi connectivity. Adjust camera angles after installation to cover critical areas such as entrances, valuables, or hallways.
Secure cables with clips or conduit to prevent tripping hazards. Finally, connect the camera to the network and configure settings such as motion-detection zones, alert preferences, and recording parameters via the manufacturer’s app.
How to Install Outdoor Cameras
Outdoor camera installation requires additional care to protect equipment from weather and vandalism. Start by selecting elevated, sheltered locations, such as under eaves, porch ceilings, or light fixtures, to ensure cameras have a commanding view that covers entry points or vulnerable exterior zones.
Drill anchors suitable for exterior surfaces, such as brick, stucco, or wood siding, to securely mount brackets. Weatherproof housings and cable conduits help protect wiring from moisture and physical damage.
When routing power cables, plan routes that minimize exposure while maintaining accessibility for maintenance. Wireless outdoor cameras should be placed within range of a strong Wi-Fi signal, or use Wi-Fi signal extenders.
Test the camera feed before permanently securing it to ensure the desired coverage and detection accuracy. Consider integrating infrared or full-colour night vision for 24/7 security.
Connecting Cameras to Wi-Fi
Connecting security cameras to Wi-Fi typically involves accessing each camera’s setup mode, which can be done by pressing a sync button or scanning a QR code provided by the manufacturer’s app.
Within the app, select the network from the available Wi-Fi list and enter the password carefully. Cameras typically support the 2.4 GHz band for longer range, although newer models may also support 5 GHz connections for less congestion and higher speeds.
Maintain a direct line of sight to the router during setup to avoid dropped connections. Use Wi-Fi extenders or mesh networks in larger homes or areas with weak signals to reduce interference.
After the connection, cameras often perform firmware updates; allow this process to complete uninterrupted. Secure your network with strong passwords and updated encryption protocols (WPA3 recommended) to protect camera streams from unauthorized access.
Configuring Camera Settings via App
After installation and network connection, configure cameras through their dedicated apps. Settings to consider include:
Resolution and Video Quality: Set an appropriate balance between clarity and bandwidth/storage usage.
Motion Detection: Enable motion triggers with adjustable sensitivity and specific detection zones.
Notifications and Alerts: Configure push notifications, email alerts, or sound alarms for detected events.
Recording Schedules: Set continuous or event-based recording based on your preference and storage needs.
Privacy Modes: Enable masking or scheduling to stop recording at times when cameras are not in use to protect privacy.
Two-Way Audio: Activate the microphone and speaker features, if available, for remote communication.
Testing Camera Footage and Adjustments
Test the camera’s live feed on your remote device, verifying stable video quality, proper orientation, and full coverage of designated areas. Adjust camera angles physically or via app controls, such as pan/tilt/zoom, to optimize views.
Perform motion-detection tests by moving through monitored zones and verify that alerts are triggered promptly. Check the recorded footage to confirm clarity, timestamps, and saved event clips.
Resolve issues such as blind spots, latency, or poor lighting by repositioning cameras, adjusting brightness and contrast settings, or adding supplemental lighting sources.
Regular testing ensures reliable functionality and optimal security effectiveness.
Maintaining Your Camera System
Home security camera maintenance includes regular lens cleaning to prevent blurred images caused by dust or water stains. Inspect housings and mounts for physical damage or loosening and tighten or replace as needed.
Update your firmware and software regularly to benefit from security patches and new features. Check Wi-Fi connections regularly to avoid signal dropouts.
Replace batteries in wireless units on schedule or utilize power solutions to minimize downtime. Review storage capacity and archive or delete old footage to maintain system efficiency. Consider annual professional inspections for complex setups.
(FAQs)
Q1: Can I install Home security cameras myself?
Yes, many modern cameras are designed for easy DIY installation, complete with clear instructions and a mobile app setup.
Q2: Do indoor and outdoor cameras require different power sources?
Generally, outdoor cameras require weatherproof power options, such as wired or solar, while indoor cameras often plug into household outlets.
Q3: Will security cameras work without Wi-Fi?
Wired cameras connected to DVR/NVR systems do not rely on Wi-Fi, whereas wireless cameras require a stable Wi-Fi connection for live streaming and alerts.
Q4: Are cloud storage services necessary?
They offer convenience and backup, but are optional; local storage is a viable alternative, depending on personal preference.
Q5: How can I ensure my security cameras are secure from hacking?
Use strong passwords, update firmware, and enable encryption where available.
Final Words
Setting up Home security cameras is a practical and effective way to enhance your property’s safety and surveillance capabilities. Careful selection of camera types for indoor and outdoor environments, strategic placement informed by property layout and risk zones, and meticulous installation ensure comprehensive monitoring coverage.
Connecting cameras to your Home network and configuring settings through intuitive apps enables real-time remote access, personalized alerts, and efficient storage management. Routine maintenance preserves hardware longevity and system performance, guarding against unexpected failures.
#HomeSecurityCameras #SecurityCameraSetup #SmartHomeSecurity #IndoorOutdoorCameras #WiFiSecurityCameras #RemoteMonitoring #MotionDetection #SecuritySystemTips #DIYHomeSecurity #SurveillanceCameras


