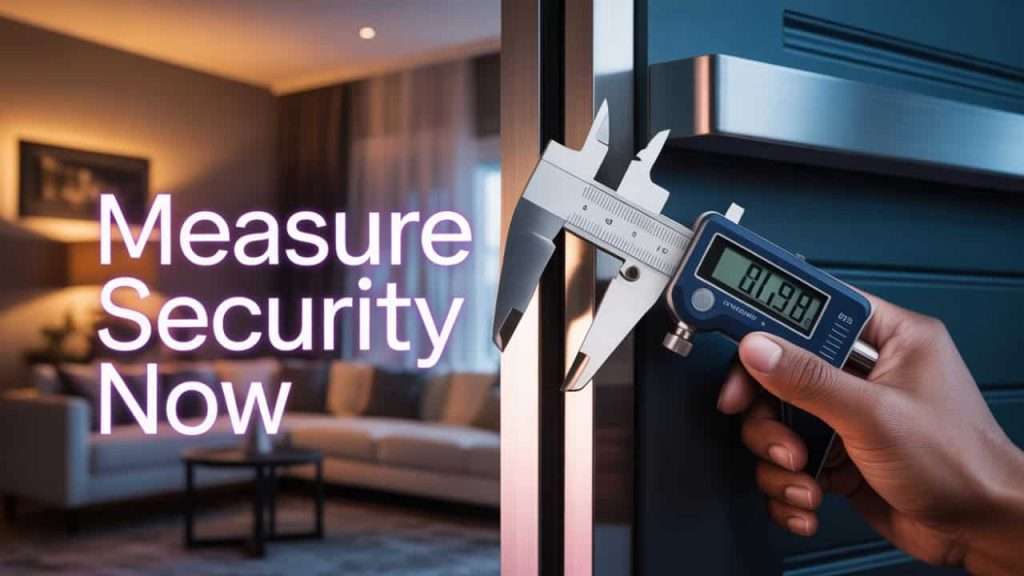
Security doors play a vital role in protecting homes, businesses, and other properties by acting as a strong, resilient barrier against unauthorized entry, burglary, and vandalism. Designed with reinforced materials such as steel or wrought iron, these doors not only offer superior physical security but also contribute to energy efficiency, aesthetic appeal, and property value enhancement. Properly measuring for a security door before installation is essential to ensure a perfect fit, optimal performance, and long-term durability.
Accurate measurements are crucial because security doors are often custom-made to fit existing openings. A poorly sized door can lead to vulnerabilities such as gaps or improper sealing, which compromise safety and energy efficiency. Moreover, correctly measured doors simplify installation, reduce material waste, and prevent expensive adjustments. This guide will walk you through the step-by-step process of measuring your door frame to ensure you get the right security door tailored to your needs.
How to Measure for a Security Door
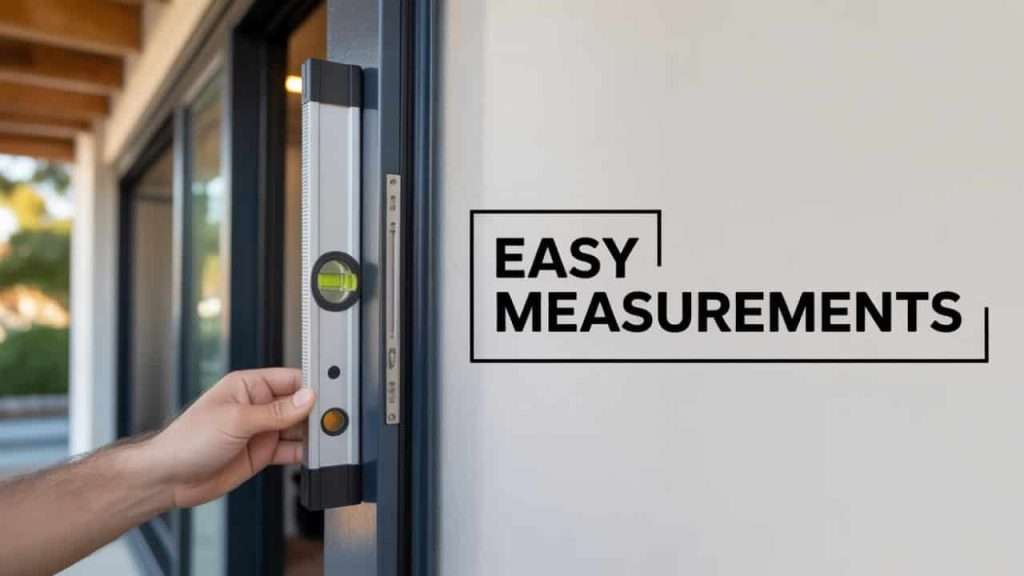
Measuring for a security door involves careful assessment of several dimensions of your existing door frame to guarantee a seamless fit and secure installation. The first key measurements to focus on are the width and height of the door frame. Accuracy in these dimensions is important because security doors typically come with precise manufacturing tolerances, and even slight deviations can cause operational issues or security compromises.
Begin by using a high-quality metal tape measure to take measurements of the door frame width at three different points: the top, middle, and bottom. Record the smallest measurement to avoid ordering a door that will not fit. Similarly, measure the height at three points along the left, center, and right sides of the frame, noting the tallest measurement. These multiple measurements account for any irregularities or warping in the frame.
Next, it is crucial to measure the depth of the door frame, especially since security doors often require a specific frame thickness to ensure proper anchoring and weather sealing. In addition, checking the squareness of the doorway with a level helps identify if the frame is perfectly rectangular or if adjustments will be necessary during installation. Finally, note any obstructions or additional features, such as existing locksets, hinges, or trims, that could influence the door size or hardware placement.
For detailed guidance, the DIY Security Door Measurement Guide by Big Easy Iron Works offers excellent tips and visuals (source).
Tools Needed for Measuring Your Door Frame
Accurate measuring requires the right set of tools. Here is a numbered list of essential tools you should have ready for measuring your door frame:
Metal Tape Measure: Provides precise length measurements and is less prone to stretching compared to cloth tapes.
Spirit Level: Used to check if the door frame is level and plumb for squareness verification.
Carpenter’s Square: Helps determine if corners form perfect 90-degree angles.
Pen and Paper or Digital Device: For noting down all measurements and observations accurately.
Step Ladder or Stool: To reach higher parts of the door frame for measurement safely.
Flashlight: Useful for inspecting dark corners or obstructions within the door frame.
Notepad or Measurement Worksheet: Specifically designed sheets help organize measurements clearly.
Camera or Smartphone: To take photos for reference during ordering or consultation.
Protective Gloves: For safety when reaching into tight or rough areas.
Having these tools handy ensures your measuring process is efficient, accurate, and well-documented. The spirit level and carpenter’s square are particularly important to avoid ordering a door for an uneven or misshapen frame, which could create fitting issues.
Measuring the Width of the Door Frame: Step-by-Step (Table Format)
| Step No. | Action | Description | Tools Required | Common Mistakes | Best Practices |
|---|---|---|---|---|---|
| 1 | Prepare your tools | Gather tape measure, level, square, pen, and notepad | Look for warping, paint buildup, or damage affecting width | Starting without tools at hand | Organize tools before measuring |
| 2 | Measure at the top | Measure inside edge to inside edge horizontally at the top | Tape measure | Measuring outer edges or including trim | Measure inside frame, exclude molding |
| 3 | Measure at the middle | Measure horizontally at the midpoint of the door frame | Tape measure | Ignoring inconsistencies between points | Record all three measurements |
| 4 | Measure at the bottom | Note the smallest width for ordering | Tape measure | Taking only one measurement | Use an organized worksheet |
| 5 | Record measurements | Write down the three width measurements clearly | Notepad or digital tool | Failing to document immediately | The level should confirm horizontal alignment |
| 6 | Check frame squareness horizontally | Measure the width at the bottom, inside edges | Spirit level | Skipping squareness check | Use a level to check if the top and bottom points are level |
| 7 | Note frame irregularities | Confirm the smallest width | Visual inspection | Overlooking frame damage or obstacles | Look for warping, paint buildup, or damage affecting the width |
| 8 | Photograph the door frame, highlighting the width measurement points | Record any issues for the installer | Tape measure | Using the average instead of the smallest | The smallest value ensures the door will fit |
| 9 | Take photos for evidence | Ignoring the door hinge/swing side | Camera | Forgetting visual proof | Photos help ensure clarity during ordering |
| 10 | Cross-check measurements | Double-check measurements by repeating steps to avoid errors | Tape measure | Rushing measurement | Repeat measurements for accuracy |
| 11 | Note the frame depth as it affects fitting | Note the door swing side and clearance to avoid obstruction | Visual inspection | Assess if frame depth may impact the width tightness | Consider the door swing space |
| 12 | Plan for frame thickness | Look for warping, paint buildup, or damage affecting the width | Visual and tape measure | Neglecting frame depth measurement | Measure the space around the door for proper operation |
This detailed step-by-step breakdown guarantees an accurate width measurement that accounts for common pitfalls and ensures you order a security door that fits snugly and functions smoothly.
Measuring the Height of the Door Frame: Step-by-Step
Measuring the height is just as critical as the width, since an improper height can cause the door to bind or fail to seal adequately. To measure height, take a tape measure and proceed as follows:
1. Measure vertically from the inside top edge of the door frame down to the floor or threshold point.
2. Take measurements at three points along the frame’s height: left side, center, and right side to account for floor or ceiling irregularities.
3. Record the tallest height measurement, since some manufacturers recommend ordering based on the highest point to ensure clearance.
4. Use a spirit level alongside the vertical measurement to ensure the frame is plumb and true.
5. Account for any uneven flooring or threshold buildup by noting these variations clearly.
6. Avoid including the door sill or external molding in height measurements unless specified by the manufacturer’s instructions.
Taking multiple readings and noting anomalies prevents ordering a door that is too tall or too short for the opening, minimizing installation adjustments and potential damage.
Accounting for Frame Depth: Why It Matters
The depth of your door frame—the distance from the outermost edge of one jamb to the opposite jamb through the wall thickness—is crucial for correct security door installation. Security door frames come in varying depths to accommodate different wall thicknesses, insulation needs, and mounting requirements.
Why frame depth matters:
1. If the frame is too shallow, the security door may not fit properly, resulting in gaps that reduce its protective function.
2. Too deep a frame may interfere with existing hardware like doorbells or lights, and complicate the door’s swing.
3. Proper depth ensures the door seals tightly against weather elements and maximizes thermal efficiency.
4. It affects the placement and type of anchors or screws needed to secure the door firmly.
5. Measuring frame depth accurately prevents expensive modifications or ordering a custom frame if the standard size does not fit.
To measure frame depth, use a tape measure or caliper and measure from the innermost to outermost edges at the jambs and middle. Take multiple measurements and use the smallest for ordering.
Checking for Squareness: Using a Level
A security door must fit a square and true frame; otherwise, installation may be difficult and the door may not latch or seal properly. To check if your frame is square:
1. Use a carpenter’s square at each corner of the door frame. The inside corners should form 90-degree angles.
2. Place a spirit level vertically and horizontally against the jambs and header to check for plumb and level.
3. Take diagonal measurements across the frame from corner to corner. If the diagonals are equal, the frame is square.
4. Note any areas where the frame is warped, bowed, or uneven.
5. If the frame is out of square, shimming or frame repair may be needed prior to door installation.
Regular use of a level and square prevents ordering measurement errors and prepares you to discuss any frame adjustments with your supplier or installer.
Identifying Any Obstructions or Additional Features
Before finalizing measurements, carefully inspect the door frame and surrounding area for obstructions or features that might affect your security door fit, such as:
1. Existing lock hardware that protrudes into the door opening.
2. Hinges that extend beyond the jamb surface.
3. Doorbells, intercoms, or security sensors mounted near the frame.
4. Window sills, air vents, or electrical outlets close to the door.
5. Weather stripping, thresholds, or transition plates.
6. Trim or molding that could interfere with door movement.
Document these obstructions with notes and photos. Communicate them to the door supplier to ensure your security door design accommodates these features or that modifications are planned.
Taking Note of Measurements for Order Placement
Once you have carefully gathered all the measurements—width, height, frame depth, squareness, and noted obstructions—prepare a comprehensive measurement sheet for order placement. Include:
1. A clear list of the smallest width and tallest height measurements with units.
2. Frame depth with notes of thickness variances.
3. Squareness results including diagonal lengths.
4. Detailed descriptions and photos of door swing direction and lock/hinge placements.
5. Any special requests due to obstructions or custom hardware needs?
6. Contact information and order reference to match supplier requirements.
Verifying measurements multiple times before submitting them is crucial to avoid costly errors and delays. Many manufacturers provide templates or online ordering forms that guide you through submitting correct information.
For additional support, consult reputable security door vendors with measurement guides such as Buildworld UK (source) or videos like the Lathams Security Doorsets tutorial (source).
(FAQs)
Q1: How precise do my measurements need to be?
A: Accuracy within 1/8 inch (3mm) is generally sufficient. Too loose measurements lead to poor fitting; too tight can cause installation difficulties.
Q2: Should I measure the door frame or the existing door?
A: Always measure the door frame opening, not the door itself, as the frame determines the door size needed.
Q3: Can I measure a security door opening alone, or do I need help?
A: For heavier doors, assistance may help, but frame measurement is typically manageable alone.
Q4: What if my door frame is not square?
A: Minor irregularities can be accommodated with shims, but significant issues require frame repair or custom door ordering.
Q5: How do I account for door swing in measurements?
A: Note the door’s swing direction (inward/outward, left/right) and ensure adequate clearance on that side.
Conclusion
Measuring accurately for a security door is the foundation of a secure, efficient, and aesthetically pleasing installation. Taking the time to gather precise width, height, frame depth, and squareness measurements, while carefully noting any obstructions or special features, ensures you select the right door size and configuration. Using proper tools and a systematic approach will save time, reduce costs, and prevent installation challenges.
By following this comprehensive guide, homeowners and contractors alike can feel confident that their security door will fit perfectly, perform as intended, and provide reliable protection for years. Consulting manufacturer guides and expert resources further enhances measurement accuracy and overall project success. Investing effort at the measurement stage significantly enhances safety, energy efficiency, and curb appeal of your property.
#SecurityDoorMeasurement #HomeSecurity #DoorFrameMeasurement #DIYHomeImprovement #SecurityDoors #DoorInstallation #HomeSafety #PropertyProtection #PreciseMeasurements #SecureYourHome


